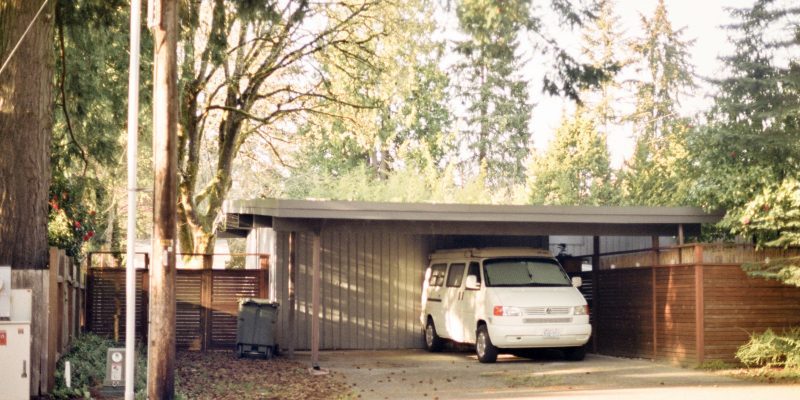
A lot of houses today come with a garage or a driveway. However, storing your car in a garage every night is simply impractical. On the other hand, while a driveway provides you with the perfect space to park your car, there is no protection from the elements. Luckily, a carport offers a happy medium between the two. Read on to learn more.
Carports: A Background
To put it simply, a carport is a structure. The structure itself comes down to the preferences of the person; for the most part, they tend to consist of beams and a roof. However, you could include more cover if you so choose, although then, the carport begins to become more of a garage. They can also add value to your property. Depending on the amount of space that you have, you might choose to attach the carport to your property, build one to cover your driveway or build it as a standalone structure.
For the most part, a carport tends to be built from practical and long-lasting materials. Most people use wood or metal for the beams and construct the roof from a corrugated plastic or polycarbonate material. They are a great DIY project because they are pretty simple to build, although if you want to hire a professional because you have neither the time nor inclination to build your own carport, then the choice is yours.
Start by Preparing the Ground
The first thing you need to do when building a carport is to prepare the ground on which you want to build the carport. Depending on the size of your carport or the area you live in, you might need to reach out to the local authority, like the council, for planning permission. This is something that you should do before you break ground. After you have secured planning permission – if you need it – you can then begin to compile the materials that you need for the job.
Think about the size of the carport and measure the ground; if you are working with a driveway, then this obviously already outlines the space for you. As mentioned above, not all carports will be freestanding, and if you plan to build the carport off of your house, then you can skip several steps. If your carport is freestanding and not being built to cover the driveway, then you should begin to prepare the ground. This will mean mapping out the position of the beams and digging down deep enough to secure them in the ground. In addition, it might make sense to pave the ground to make it easier to drive on.
Next, Secure the Posts
The next step in building a carport is to secure the beams. You should have already dug several holes, which you can use to stake the posts into the ground to add a bit of stability to them. Again as mentioned above, you can simply affix the roofing to your home or an existing building and therefore skip this step. The carport should be located conveniently; for example, if you have an electric vehicle, then you might want to build your carport over the home charge point. Speaking of electric vehicles, ElectriX has a number of resources which can prove invaluable to electric car owners, so be sure to look them up.
Ideally, the holes should be a couple of feet deep to ensure the pots remain stable. Most people opt for wooden or metal beams, as mentioned above. Once the holes have been dug, you can begin to stake the posts in. You should secure them in the holes with concrete, and if you find that the posts aren’t steady, you can use counterweights to hold them upright in the proper position while the cement dries. It doesn’t really matter what order you choose to stake the beams in, but you will need to ensure that they are all dry before moving on to the next step.
Then Add the Roof
After the beams have dried, it is time to think about attaching the roof. Now, depending on the roof material and your structure so far, you might need to customise your approach a little. For a traditional carport, you will need to begin with the rafters in order to ensure that the roof has ample support. Once the rafters are fitted and secure, you can then begin to attach the roof panels. This should be a pretty straightforward process.
Lastly, the Final Touches
Once the rest of the work is done, it comes down to a few final touches. Obviously, you will need to ensure that the structure is stable enough to withstand both time and the weather conditions that you usually experience. If you find that it isn’t as stable as you would like it to be, then add extra support and reinforce the structure as a whole. Depending on the materials you have used, it will also be worth looking into weatherproofing them to ensure that your carport has been built to last.
In Conclusion
Carports are a great practical addition to your home, and building a carport is really pretty simple in the grand scheme of things. If you are thinking of adding a carport to your property, then be sure to keep in mind the above tips.


