Most homeowners experience a problem with their plumbing at some point, whether it’s a leaky faucet or a full-blown water leak. These things can be damaging to properties, and expensive to fix. Perhaps you want to know what to do about the plumbing issues you’re currently struggling with. This article will provide a step-by-step guide on how to fix them at home.
A Clogged Sink
This happens when debris (e.g. food and hair) builds up in the drain pipes and stops water from flowing freely. There’ll usually be an accumulation of debris in the P-trap area under the sink. Try using a wire hanger or plunger to clear out the blockage. If these don’t work, you may need to use chemical drain cleaners (but follow the instructions carefully. You may also want to use a sink stopper or garbage disposal unit if you don’t already have them.
As with all plumbing issues, you may need professional help if you’re not confident performing the repair. Let’s assume you’re one of the 10 million people living in Michigan. By calling this emergency plumber in Michigan, people confirm the need for fast services and guaranteed work by expert technicians. Folks want help with repairs and maintenance and seek ways to prevent future damage to their plumbing.
A Leaky Faucet
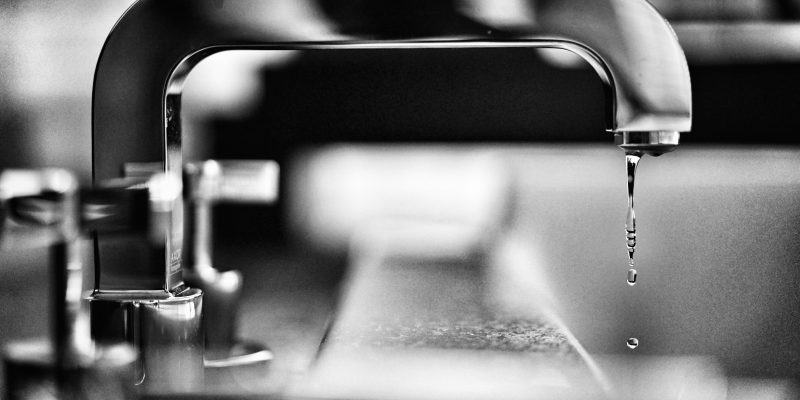
This is typically caused by a faulty rubber washer (an internal part of the faucet that seals the water flow). Firstly, turn off the main water supply to your household. Unscrew the screw located at the top of your faucet’s handle and remove it from its mounting base. If there are no visible screws at the top, you may need to remove a cap or simply pry it off.
Locate the faulty rubber washer at the base of your faucet’s spout. Unscrew any small nuts that are holding it in place and replace them with a new ones. Reassemble the parts in reverse order as they were taken apart—attaching the handle securely before turning on the water supply.
Overflowing Toilets
This can occur because of clogged pipes, a faulty flapper valve, or an issue with your water pressure. Firstly, locate the shut-off valve in order to turn off the water supply to the toilet. Check for any obvious blockages and remove them if found. If there aren’t any, plunge away from around the rim of the toilet, being careful not to splash yourself.
If there’s still an issue, use a long screwdriver or toilet auger to get rid of any blockages down in the drain pipe. Make sure you’re wearing protective gloves before attempting this step. Check the flapper valve in order to ensure it’s still working properly. If it’s not, replace it with a new one and reconnect it to the flush handle (using an adjustable wrench). Once you’ve finished, turn on the water supply and test out your work by flushing the toilet.
No Hot Water
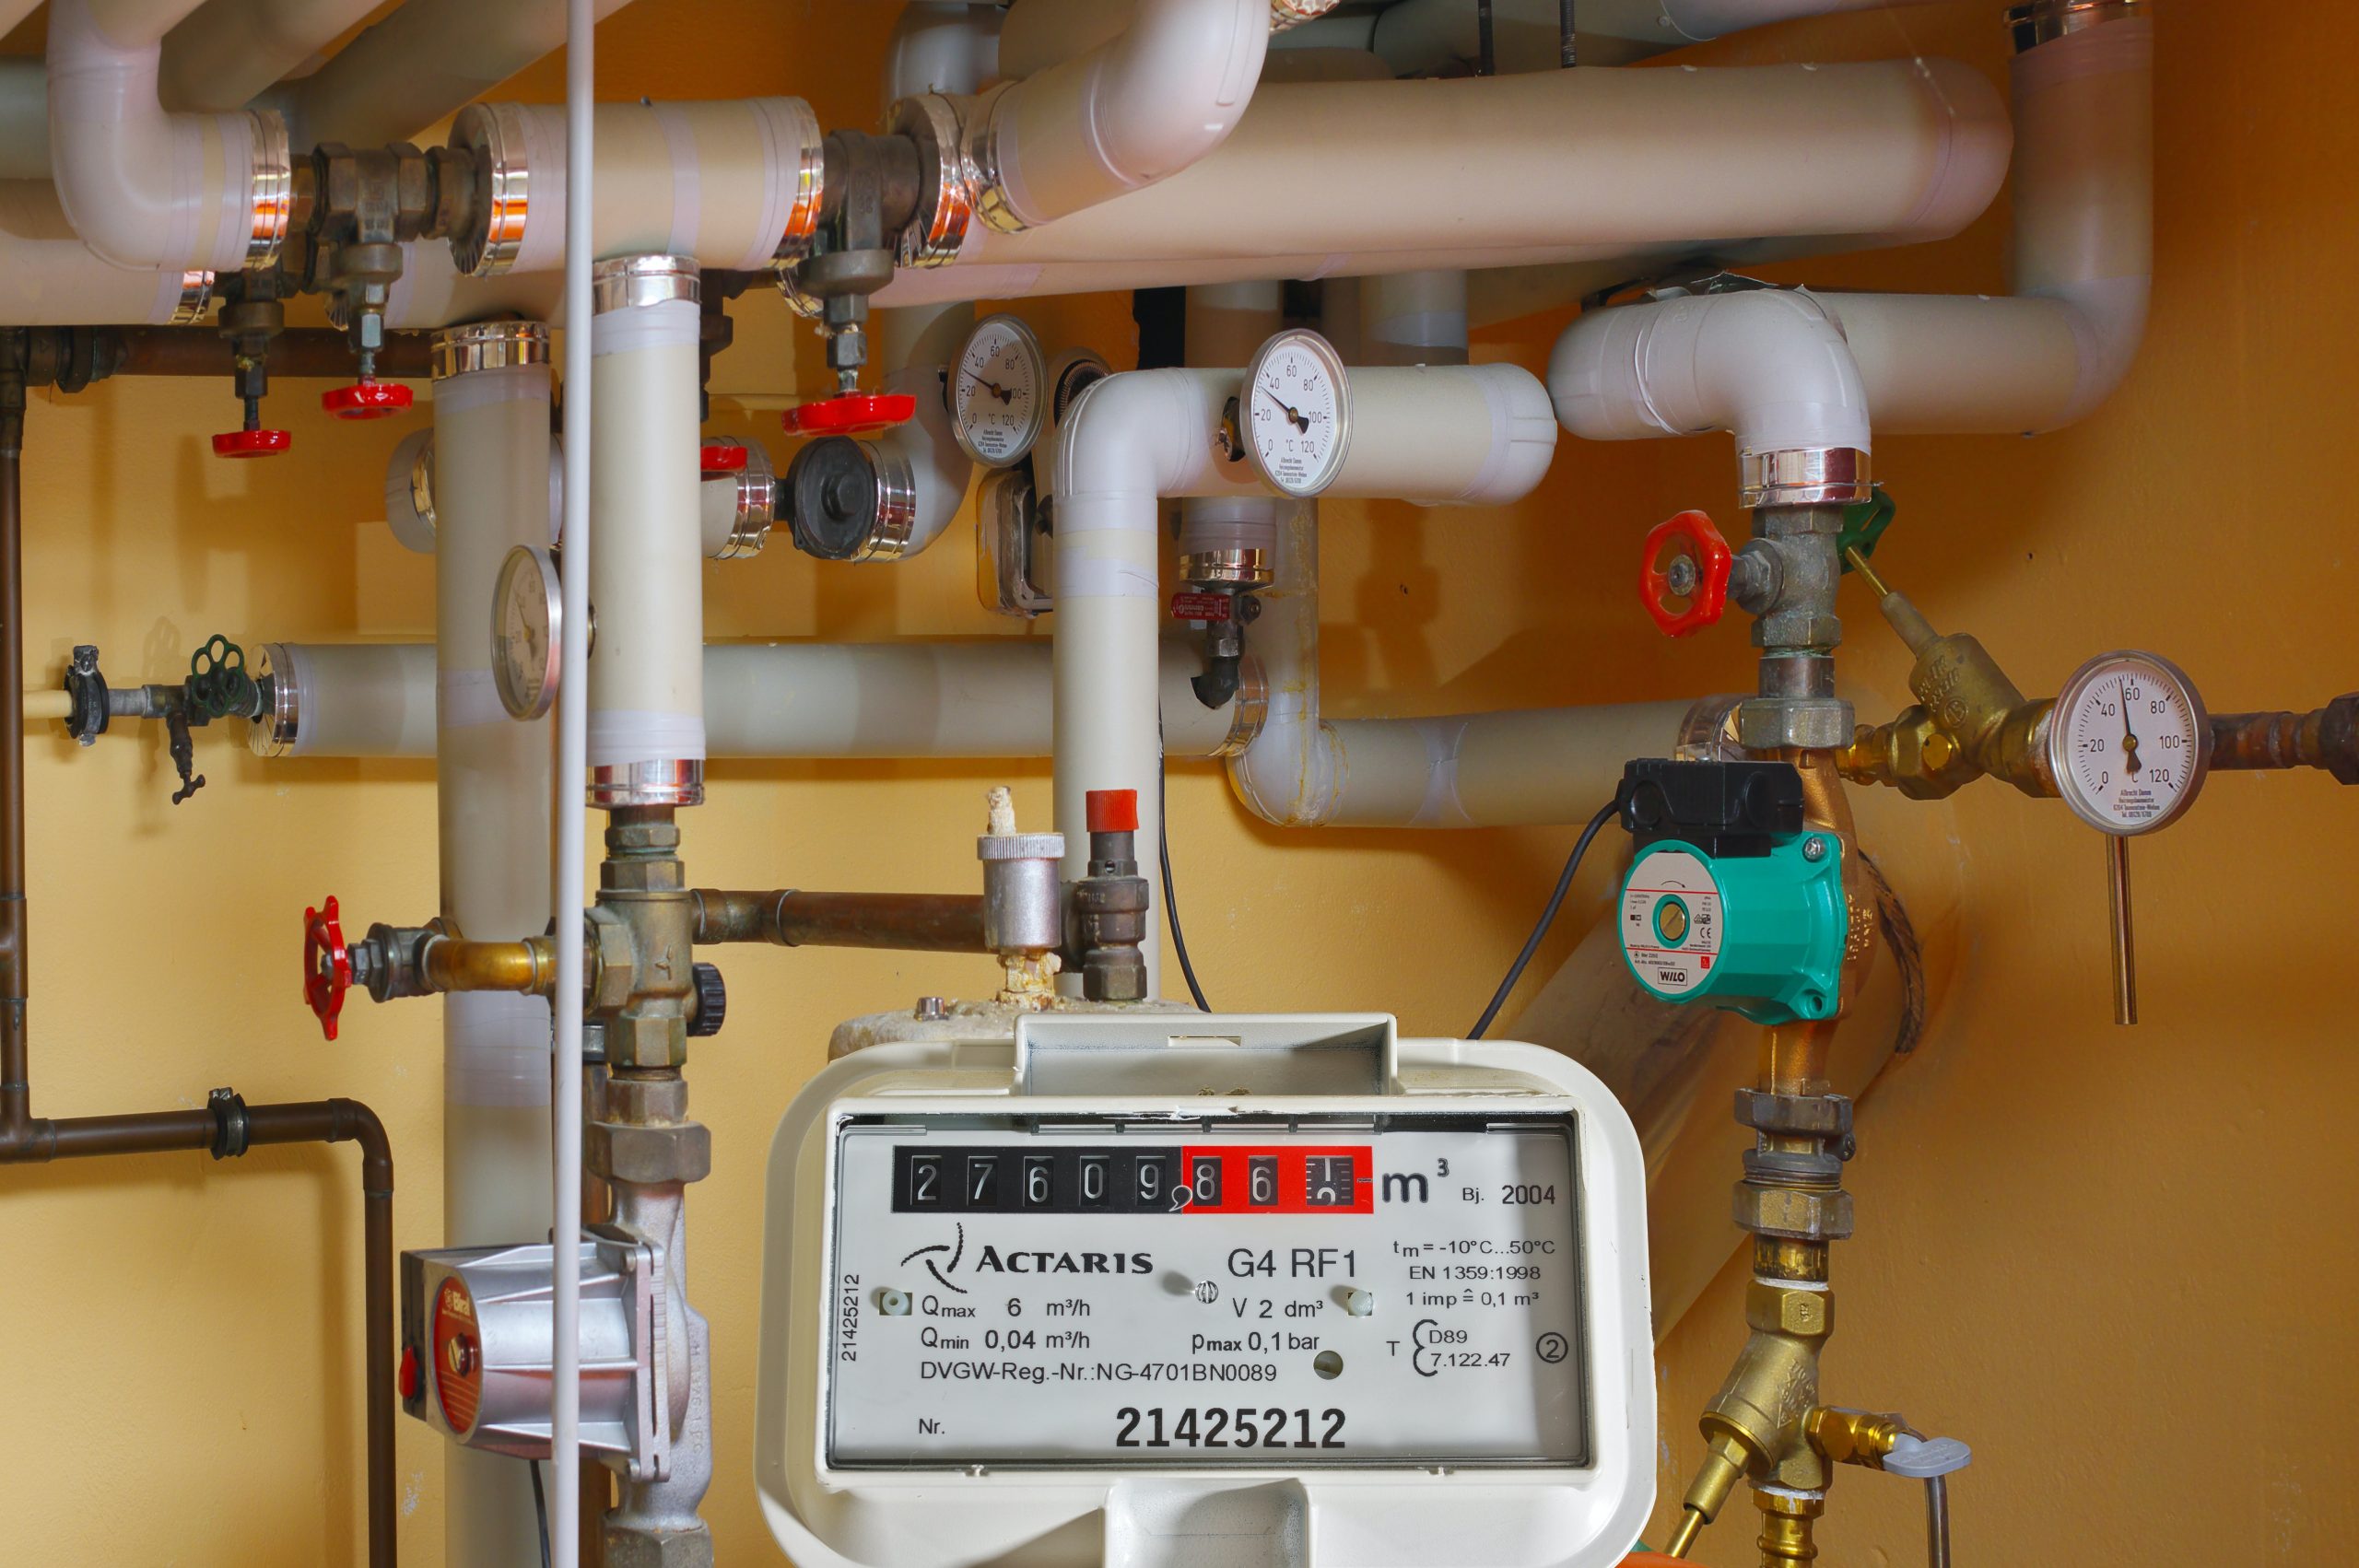
This can be a serious issue and it’s usually due to one of three reasons:
- The power supply has been cut off or there’s an electrical fault somewhere in your home
- There might be a problem with your water heater
- There are issues with the plumbing system itself
Check the breaker panel or fuse box for any tripped switches or blown fuses that could be causing the lack of power. If you find any, reset the switch/replace the fuse and see if hot water returns. If that doesn’t work, check if the water heater’s pilot light is lit. If it isn’t, try relighting it according to the manufacturer’s instructions and see if that gets hot water flowing again. If that doesn’t work, contact a professional plumber rather than fiddling with the electricity.
Burst Or Leaking Water Lines
This can be caused by sudden pressure changes in the pipes, corrosion due to age, or broken seals. Firstly, shut off the main water supply valve (usually located on the side of the house near where your water line enters from the street). If you know which section of pipe is specifically leaking or burst, use an adjustable crescent wrench to turn off just this specific line. Drain any remaining water from both ends of the affected area by opening the faucet at the end of the line.
Replace the broken or corroded pipe piece, cutting out the affected area using a hacksaw and replacing the section with a new one of similar size, length, and material. Put everything back together and make sure all connections are tightened securely. Check for any leaks before turning on both valves again. Then turn them on and re-check for leaks, testing the pressure of your water lines before finishing.
Sump Pump Failure
This can lead to serious water damage when it occurs. It’s typically caused by the incorrect installation of a sump pump, or due to age and wear-and-tear on an existing system. Firstly, check your system’s capacity to make sure your pump has enough power to handle the job. If not, replace it with one that does. Clean out any debris from around the outside of your home that could be obstructing proper drainage (i.e., leaves, twigs, etc.). Make sure the float switch is properly connected and in good working condition, otherwise replace it.
Make sure there’s enough water in the sump pit to trigger the float switch correctly. If there isn’t, top up with a bit of clean water from a hose or bucket. Look for any frayed wires or loose connections on your electrical wiring and fix them promptly (with the power turned off!) if necessary. Once everything has been checked and adjusted, test your system by pouring a bucket of water into the sump pit. If it pumps correctly, you’ve successfully fixed the issue.
Thanks to these tips you’ll be better able to address the plumbing issues you experience at home. It’s also worth reading specialist articles and viewing Youtube tutorials. If you can’t get the job done confidently, call a plumber and let them remedy the situation for you.


