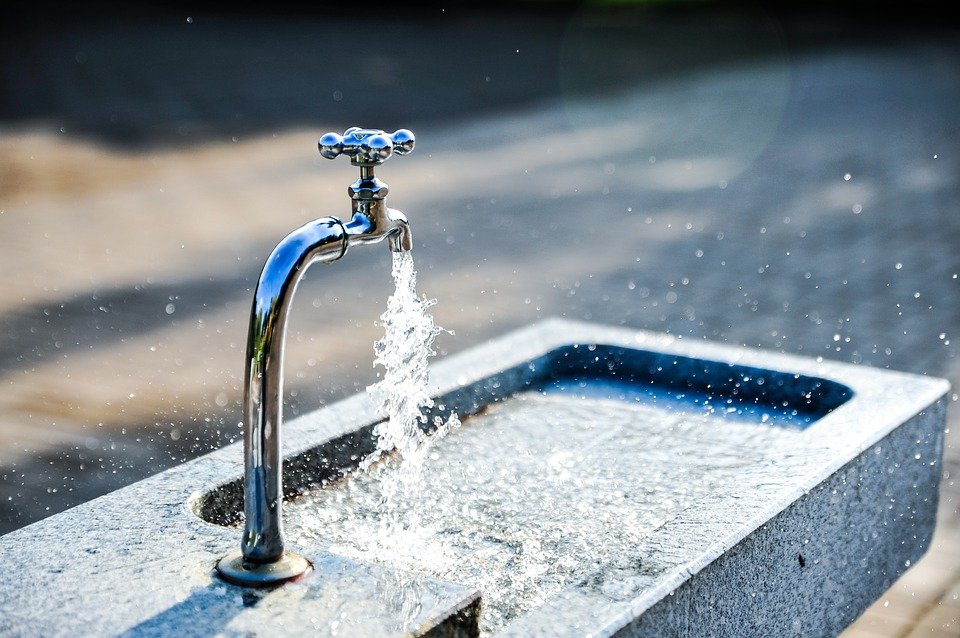
For most people who own a home with a hard water problem, it takes some time to get used to the feeling of using hard water for washing clothes and dishes. But there is good news: cleaning a water softener offers some exceptional benefits and should be done at least twice a year to keep the system performing at its best. It will also prolong the life of your water softener or reverse osmosis system, allow greater efficient use of electricity and save you money on your utility bills.
How to Clean a Water Softener
By knowing how to clean a water softener, these problems associated with hard-water usage can be solved quickly and easily. Following the instructions below will allow you to maintain your water softening system to serve you longer. Besides, you’ll keep your water softener operating at peak performance and give you an incredible feeling of satisfaction as well.
Step 1: Turn Off the Power at the Electrical Service Box
Make sure that you are not touching any of the wires or other parts inside the electrical service box. Always remember that any time you are working with electricity or the components of an operating system such as this, extreme caution must be taken to avoid injury to yourself or damage to the equipment itself. It would be best if you never tried to do anything with wires or other live parts while they are plugged in and turned on.
Step 2: Locate the Filter Access Panel to Your Water Softener Unit
Depending on which type of system you have, there may only be one filter cartridge that needs to be removed for cleaning, or there may be two (double filters generally require more frequent cleanings than single filters). Look on the underside of the top lid for a black plastic plug with a knob attached; turn counter-clockwise if it is present. Remove the filter and set it aside in a safe location where dirt and minerals cannot get into it while it is not in use.
Step 3: Locate the Drain Valve on Your Water Softener Unit and Open
Be sure only to turn the valve itself and not the plastic knob attached to it as you do this. The water inside the system will begin to drain into a bucket or other container placed below the water softener unit. When all of the water has drained out, close the drain valve by turning clockwise (if there isn’t a knob on your valve, make sure you hold down the metal ring around it as you turn it; if no metal ring is present, tighten shut with your hand).
Step 4: Replace Filters Cartridges
Remove any filter cartridges from the inside of the casing (this means both filters if it is a double filter system) and brush clean using the stiff-bristled brush. Next, use the soft bristle brush to clean off the screens themselves. Finally, rinse all parts thoroughly, removing any sediment from inside of unit before reassembling.
The filters can be purchased at a home improvement store for a very reasonable price. Replace them when they become dirty and worn to ensure the best performance from your water softener. They should always be replaced when they become dirty, occurring every month or two depending on how much your water is softened.
Step 5: Turn the Water Supply Back On
Now, after cleaning your softener, it’s time to turn the water supply back on. This is important to do because the water has not been running during the process of draining, brushing, and rinsing clean your unit (this means that all of the iron, calcium, and other minerals that were previously in your home’s water supply are still there). If you run this newly cleaned water through your taps immediately after shutting off the main supply, all of these minerals will end up in places where you don’t want them–like in your coffee maker or dishwasher.
Step 6: Run Hot Water at Each Tap Until Clear
Thus it is highly recommended that the newly cleaned unit runs for a minute or two to flush out any excess minerals before turning on the main supply again. Then, run hot water at every tap in your house until it comes out clear (you should see no white or another residue inside the sink, tub, or shower).
While the above guide is not a substitute for actual technical knowledge, it provides a basic understanding of how to clean a water softener and is designed to be used by anyone looking forward to thoroughly cleaning their water softener from time to time. If you have any questions or need more information on this subject, consider using our contact form with your inquiries, and we will get back to you as quickly as possible.