There are few things that can spruce up the exterior of your home and improve curb appeal like a fresh coat of paint. While you can certainly hire professionals to do the job for you, a DIY paint job can save you a ton of money and can be quite rewarding. Plus, the work isn’t too difficult, and most homeowners will be able to tackle the project themselves. Below, we’ll walk you through all the steps you need to take to paint your home’s exterior and get a clean, polished, professional look.
1. Gather Your Materials
Before you start, you’ll want to gather all the materials you’ll need so that you don’t have to drop your brushes to run back to your local home improvement store. Below is a short list of everything you’ll need:
- Sturdy ladders
- Exterior siding paint (make sure you choose one that is suited for your siding material)
- Exterior trim paint
- High-quality paint brushes and rollers
- Painter’s tape
- Plastic contractor bags
- Drop cloth
- Paint scraper
- Window caulk
- Caulk gun
2. Clean the Exterior
Next, you’ll want to clean the exterior of your home and prep the surfaces for paint. You can start by trimming back bushes and trees that come in contact with your siding or trim. Next, pressure wash your siding and trim if applicable, but be sure not to hit the caulking around your windows. Some home warranty options include exterior pressure washing, so be sure to take advantage of your coverage if you have a home warranty in place. You can also take some time to scrape off loose paint, as this will interfere with the new coat of paint and might necessitate touchups in the future.
3. Address Damages and Stains
Once the exterior is clean, walk around your property and look for damages or stains. Check for cracking around windows and doors, chipping or peeling paint, and any staining from mold, contact with trees or shrubs, or any other imperfections. You might need to fix any damages and prepare stained surfaces with a primer so that the paint can cover them in later steps. If you have issues with exterior house stains, a protective latex paint might offer the best protection.
4. Reseal Around Windows and Doors
While you’re working outside, it’s a good idea to use your caulk gun and window caulk to reseal around your windows. If you’re uncomfortable doing this, you can hire a handyman or a window repair specialist. However, the work is relatively straightforward, and you just need to apply an even bead of silicone caulk where different materials — like your window frame and siding — meet. You can do the same around your doors to maximize your home’s energy efficiency.
5. Tape Off Lights and Trim
Next, you’ll want to protect your trim, doors, windows, and exterior lighting from the house paint. You can use painter’s tape and plastic bags to tape off lighting, and painter’s tape alone around your window and door trim should be sufficient to protect it while you work on the surrounding siding. You can also set up drop cloths to protect walkways, decks, patios, and other landscaping features from drips and splatters.
6. Paint the Exterior Walls
Finally, you can start painting your home’s exterior. Most homeowners will be using paint brushes and rollers for this step, but you could opt for a paint sprayer by either renting or buying one. In either case, apply a single coat of paint to your home, using brushes around the edges near trim and rollers to get even coverage everywhere else. Once you let the initial coat dry, you should plan to apply a second coat for better protection. If you’re painting a light color over a dark one, you might need a third coat to guarantee adequate coverage.
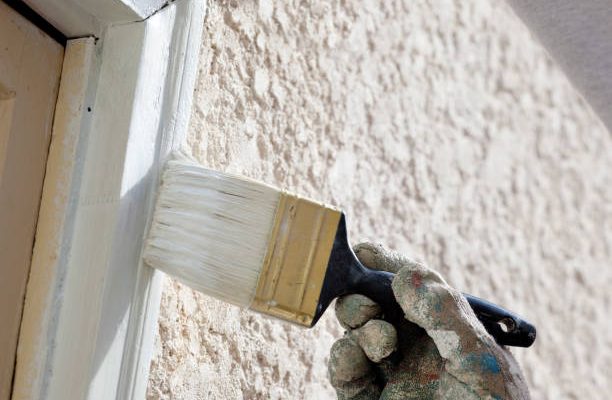
7. Finish With Trim
Once your siding is painted with the desired number of coats and the paint has been left to dry for at least two days, you can remove the tape and protective plastic bags around your trim and light fixtures. You’ll now have to move on to painting the trim, which will again require taping.
Use your painter’s tape to tape the freshly painted siding that abuts your trim, and reapply drop cloths if necessary. Use your paint brushes and exterior trim paint to paint the trim around your doors and windows. Most homeowners will want two coats on exterior trim as well, so let the paint dry and then apply another protective coat. Finally, remove all of the painter’s tape and drop cloths, and step back to admire your work!