The task of hanging curtains without drilling may appear to be an impossible feat. If you’ve had prior experience with hanging curtains, you might have been convinced that it necessitates screws, drywall anchors, the creation of dust, and a significant amount of frustration. However, is this truly the case?
No-drill curtain systems prevent wall damage and are faster to install than systems that require screws or nails. They are also portable, making them ideal for renters. Whether you need temporary curtains or want to protect your walls, choose from these five options that suit your needs.
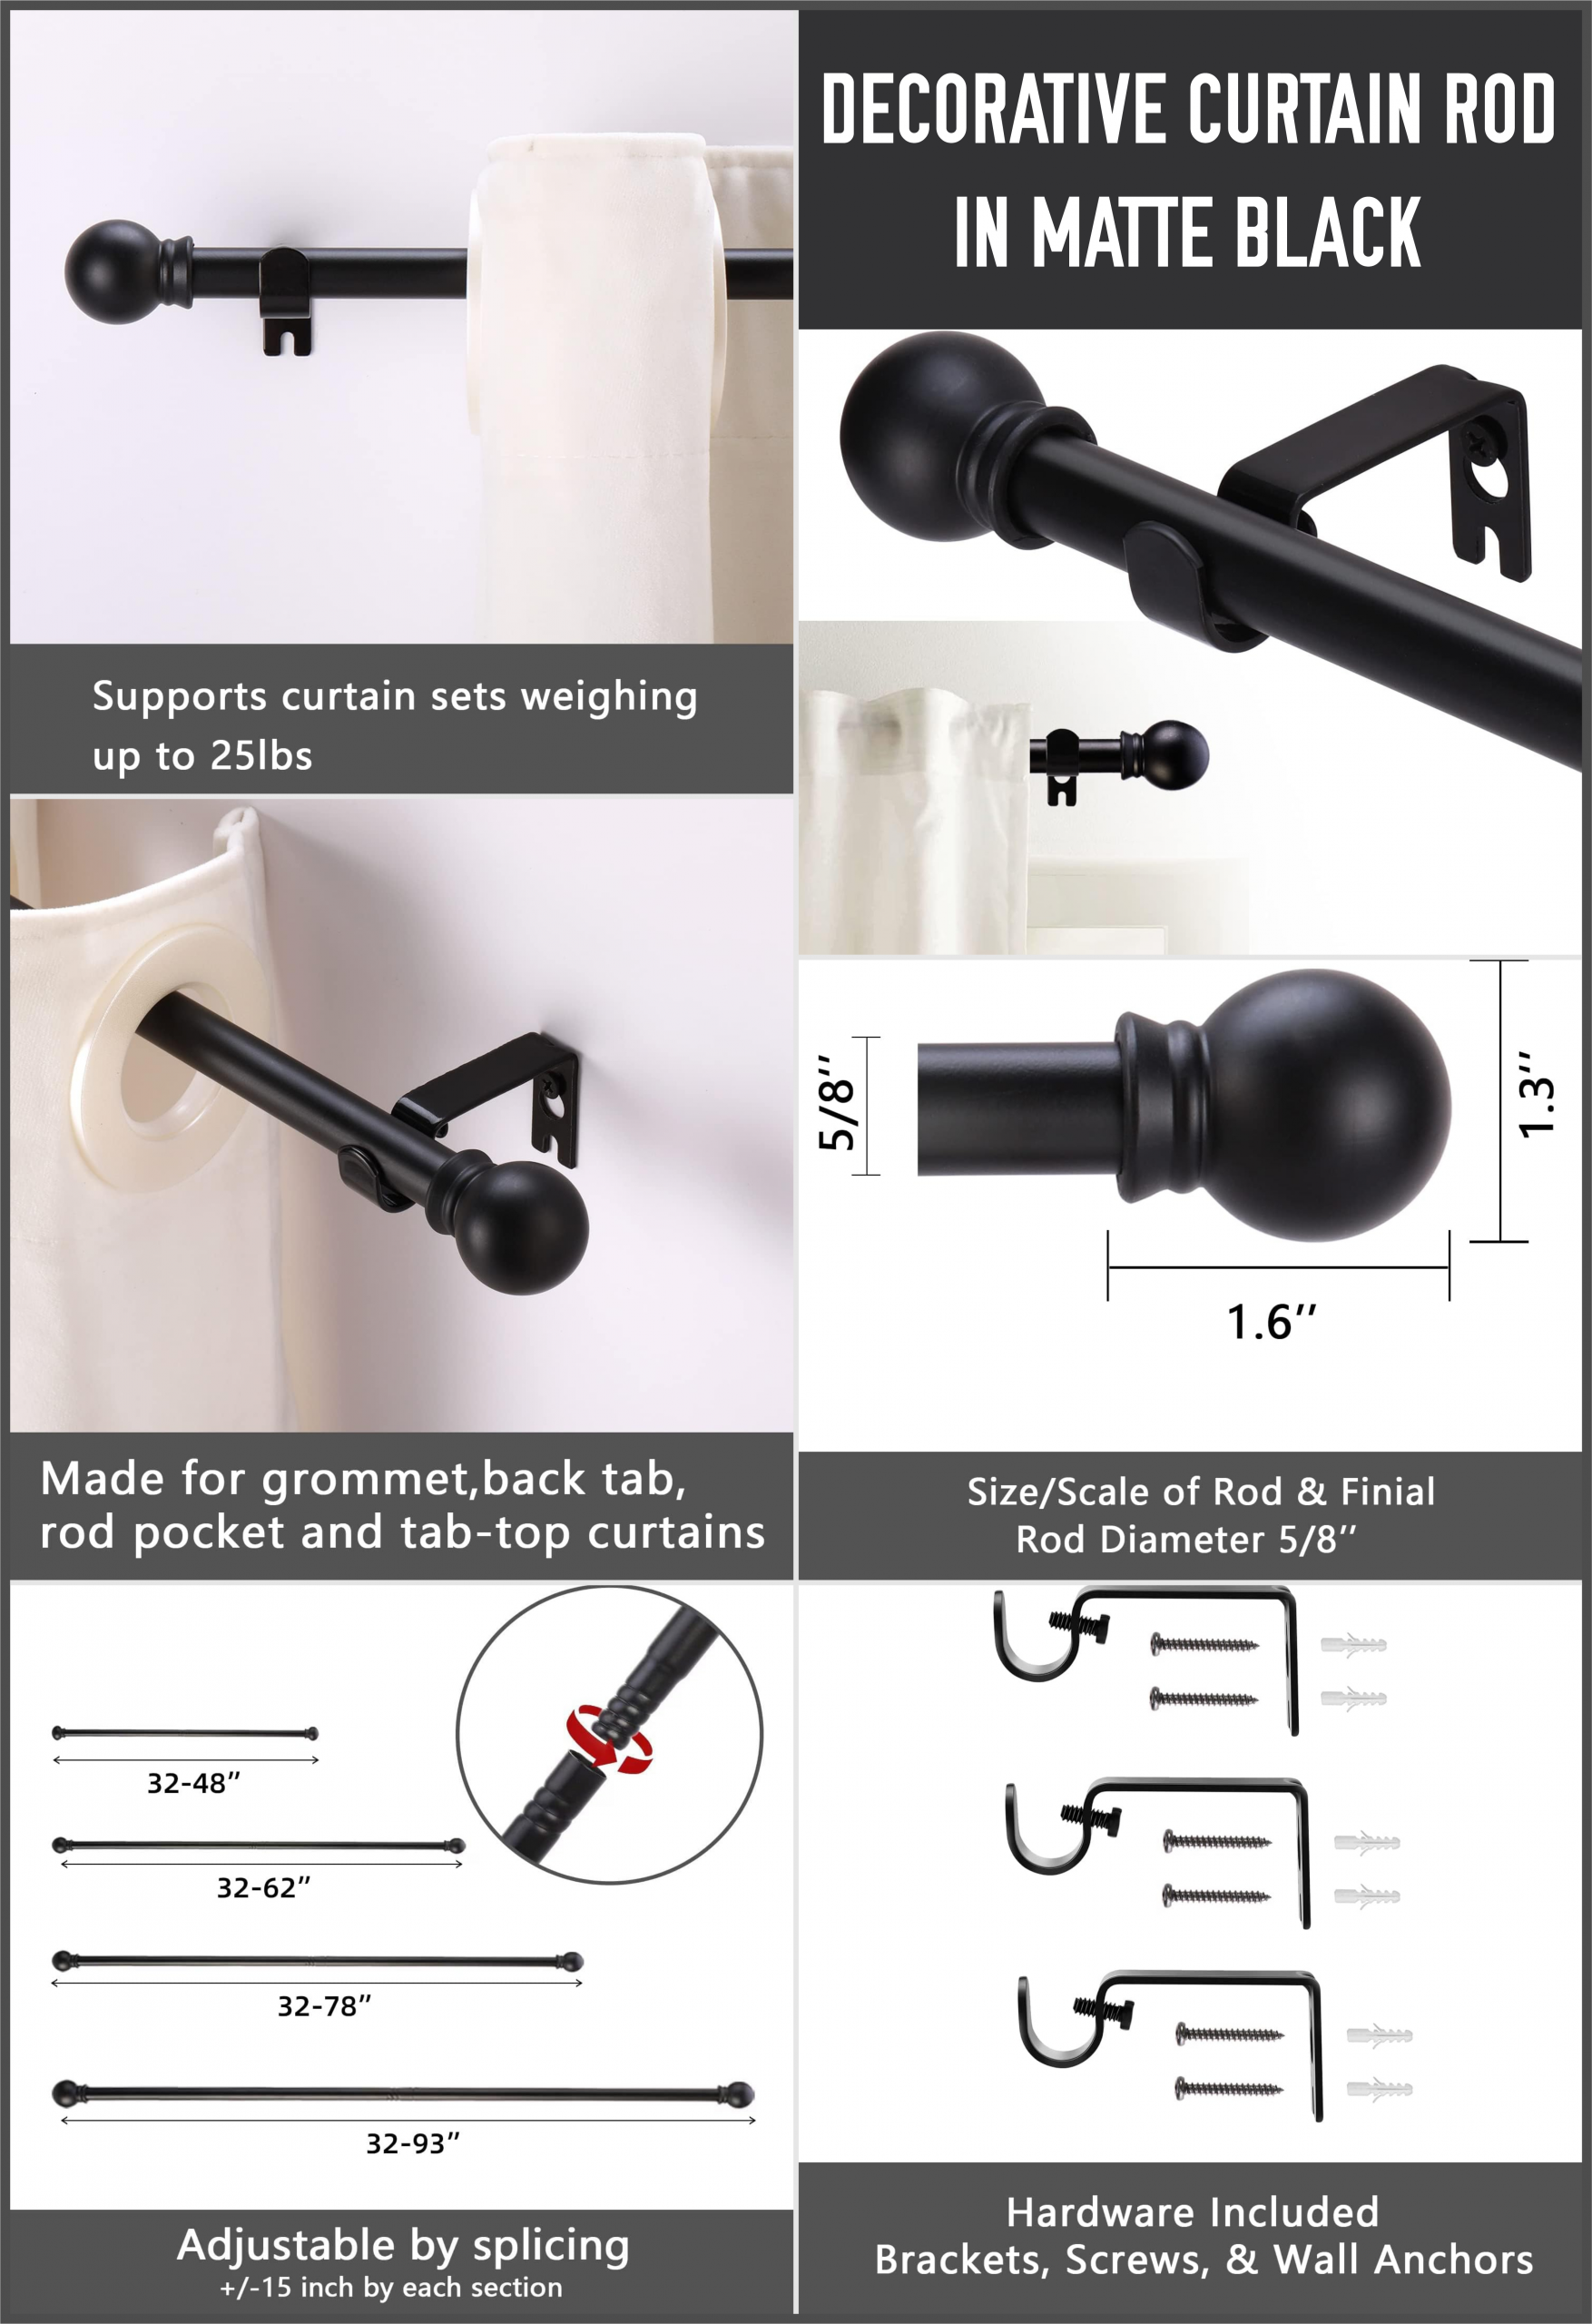
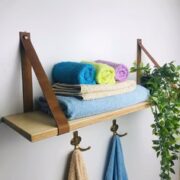
With a rustic finish, this 5/8 curtain rod boasts a simple yet modern look that seamlessly complements any space. It’s a perfect fit for various areas in your home, including the kitchen, bedroom, sliding glass doors, and outdoor patio, serving as the ideal curtain rod for your needs.
Tension Rod
Equipment / Tools:
- 1 Tape measure
- 1 Pencil
Materials:
- 1 Tension rod
Tension rods provide an easy, reliable, and affordable method to hang curtains without drilling or nailing. Unlike decorative bracketed rods with finials, tension rods prioritize functionality and aim to blend discreetly.
The rods feature internal springs that allow for compression and extension, enabling them to firmly press against the window frame. Slim cafe-style tension rods are ideal for sheers or lightweight panels, while thicker ones can support heavy blackout curtains. On average, a tension rod can hold 10 to 16 pounds of weight.
- Measure the width of the window using a tape measure.
- Purchase a tension curtain rod slightly longer than the window width, ranging from 1/2-inch to two inches longer. Thicker rods can cover larger distances, with a diameter of 3/4-inch to one inch suitable for windows up to 90 inches wide.
- To adjust the rod’s length, twist the smaller section counter-clockwise within the larger section. For smaller windows (around 34 to 41 inches wide), extend the rod 1/2-inch longer than the window width. For larger windows (between 41 and 90 inches wide), extend the rod up to 2 inches wider than the window opening.
- Press one end of the curtain rod against the side of the window frame and compress the other end to fit into the frame. Allow the rod to expand within the frame to fit the window opening. Test and adjust as needed, ensuring it’s securely in place but not overly difficult to push into position. If the length is correct, remove the rod.
- Slide the curtain onto the rod, keeping the ends two to three inches clear by pushing the curtain toward the middle. Install the rod as previously described, adjusting and smoothing the curtain as necessary.
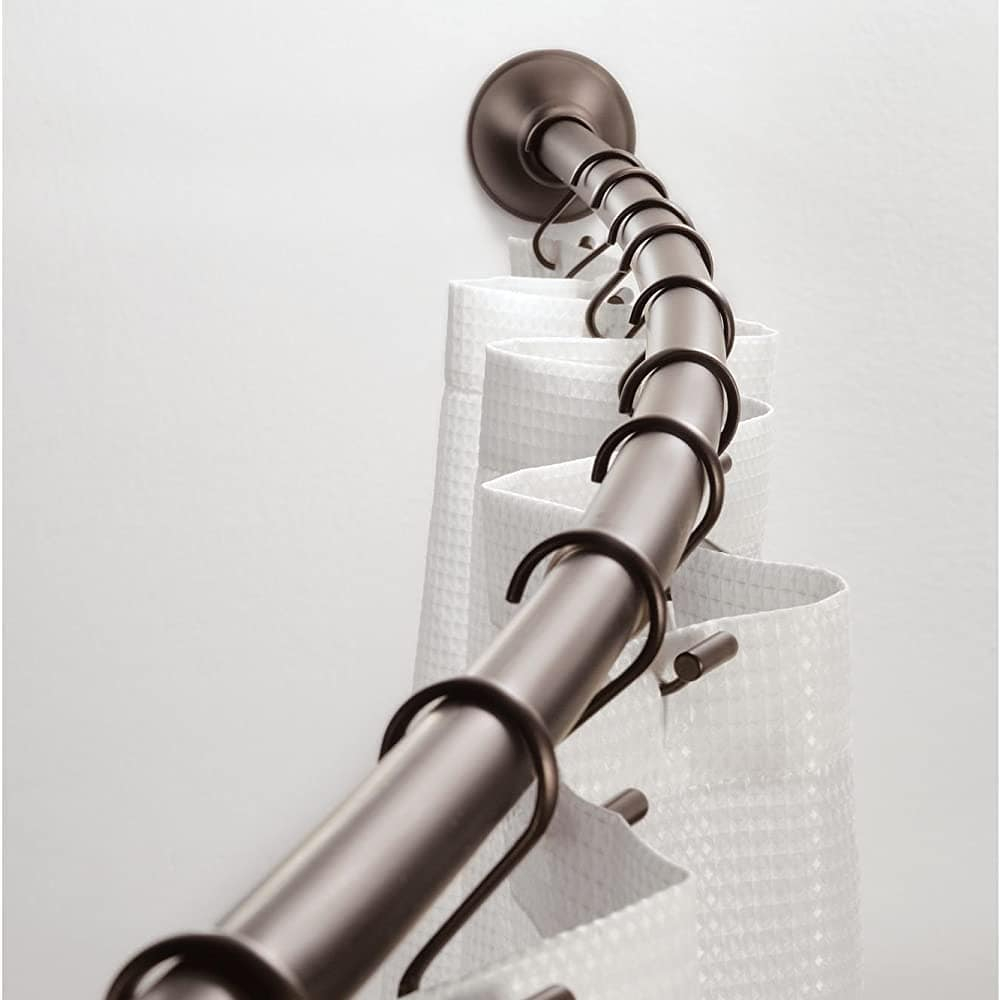
This curtain rod provides the flexibility of being used as a tension rod or easily attached with screws for a more permanent setup. It offers the opportunity to match your specific décor and adds a stylish finishing touch to your space. Tension rod from @alahagh
Adhesive Hooks
Equipment / Tools:
- 1 tape measure
- 1 sharp knife
- 1 roll painter’s tape
Materials:
- 2 self-adhesive hooks
- 1 cafe curtain rod or dowel
- 2 wood dowel caps
- 1 spray paint
- 1 wood glue
- 2 self-stick broom and mop holders (as needed)
Self-adhesive hooks are available in various styles for different purposes. They can be used to hang string lights, jewelry, organizers, pictures, brooms, spray bottles, and more. Some hooks are designed specifically for hanging curtains without drilling or nailing.
For lightweight curtains or sheers, medium plastic hooks commonly used for towels, robes, or keys can be utilized. These hooks can hold up to six pounds per pair.
Remember that these hooks hug the wall closely and may not be suitable for thick curtain rods or rods with large finials. Instead, you can opt for a thin adjustable metal cafe rod with a maximum length of 84 inches. Alternatively, you can cut a 1/2-inch by 48-inch wood dowel to the desired size. Use 1/2-inch wood caps as finials and paint the dowel in any color you prefer.
- Clean the Wall: Mix one teaspoon of all-purpose cleaner with warm water in a bucket. Use a sponge to clean the wall and rinse with water. Let it dry completely.
- Mark Hook Locations: Use painter’s tape to temporarily hold the hooks on both sides of the window. Step back and adjust the positions as needed. Lightly mark the spots above each hook with a pencil.
- Attach the Hooks: Remove the backing from a hook, align it with the pencil mark, and firmly press it onto the wall. Repeat for the other side of the window.
- Allow Adhesive to Cure: Wait for at least one hour to allow the hooks’ adhesive to fully adhere to the wall.
- Install the Curtain Rod: Slide the curtain onto the rod. If using a cafe rod, attach the finials and place the rod into the hooks.
- Add Wood Dowel Caps (Optional): If using a wood dowel as a curtain rod, check if the curtain can slip over the finials. If it does, use wood glue to secure the finials in place on the dowel. Let the glue dry for at least an hour before mounting the rod in the brackets.
- Add a Middle Hook (Optional): For cafe rods longer than 48 inches, place a bracket in the center of the window or door. Position the extended rod with the curtain in the left and right brackets. Using a chair, hold the third bracket at the center of the rod and gradually raise it until it supports the middle of the rod. Mark the position, remove the rod and curtain, install the middle bracket, and then reattach the rod and curtain.
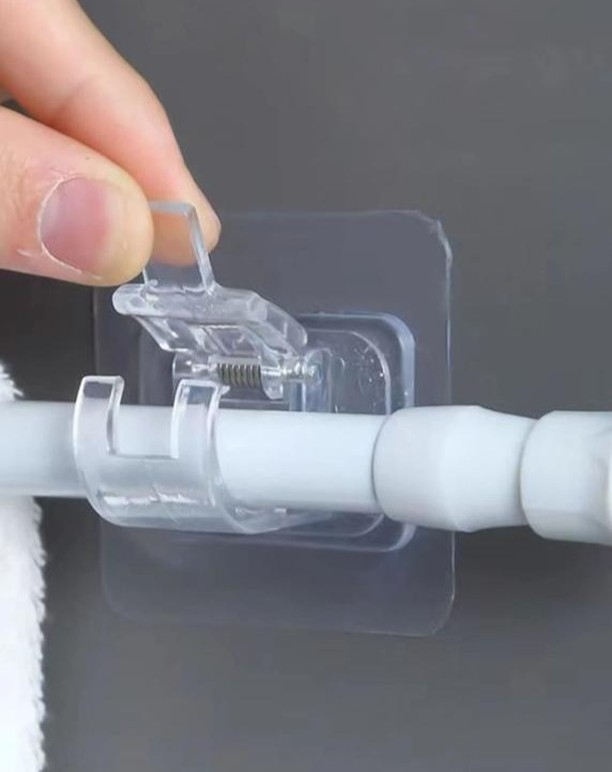
Introducing self-adhesive curtain rod hooks that offer a hassle-free installation process. Just press the pole into the bracket, and it securely locks into the plastic clip. When not in use, these hooks are easy to remove effortlessly. Adhesive hooks from @nyra567890
Pleated Shades
Equipment / Tools:
- 1 tape measure
- 1 putty knife
- 1 screwdriver
Materials:
- 1 self-adhesive pleated shade
Self-adhesive pleated shades offer a convenient solution when you need privacy and gentle, filtered light in a room. These shades, made of lightweight paper, can be quickly installed and adjusted. They are cordless, ensuring safety for children and pets, and can be easily raised or lowered by pulling or lifting the bottom edge.
You can easily adjust the width by cutting one end with a utility knife or kitchen knife. The length is self-adjusting, allowing you to raise or lower the shade to your desired height.
Self-adhesive pleated shades are a great temporary option, especially for new homes or apartments. However, they won’t darken the room, and the top adhesive strip may weaken over time due to frequent downward pulls to close the shade.
- Prepare the Surface: Ensure the top of the window frame is flat, painted, and clean. Remove any curtain or mini-blind brackets with a screwdriver. Scrape off any adhesives using a putty knife. Patch holes with wood filler and paint over them.
- Transfer the Measurement: Use a tape measure and pencil to mark the measurement on the top of the pleated shade. If there are shipping end caps, remove them first.
- Cut the Shade: Place the shade on a cutting surface like a kitchen cutting board or cardboard. Compress the shade with one hand and use a sharp, large kitchen knife (not serrated) to cut through the entire stack of the shade from top to bottom. Slowly saw back and forth, cutting through each layer of paper. Be careful of your free hand while cutting.
- Install the Shade: Remove the protective strip from the top of the shade. Standing on a chair or ladder, carefully center the shade and stick it to the top of the window frame.
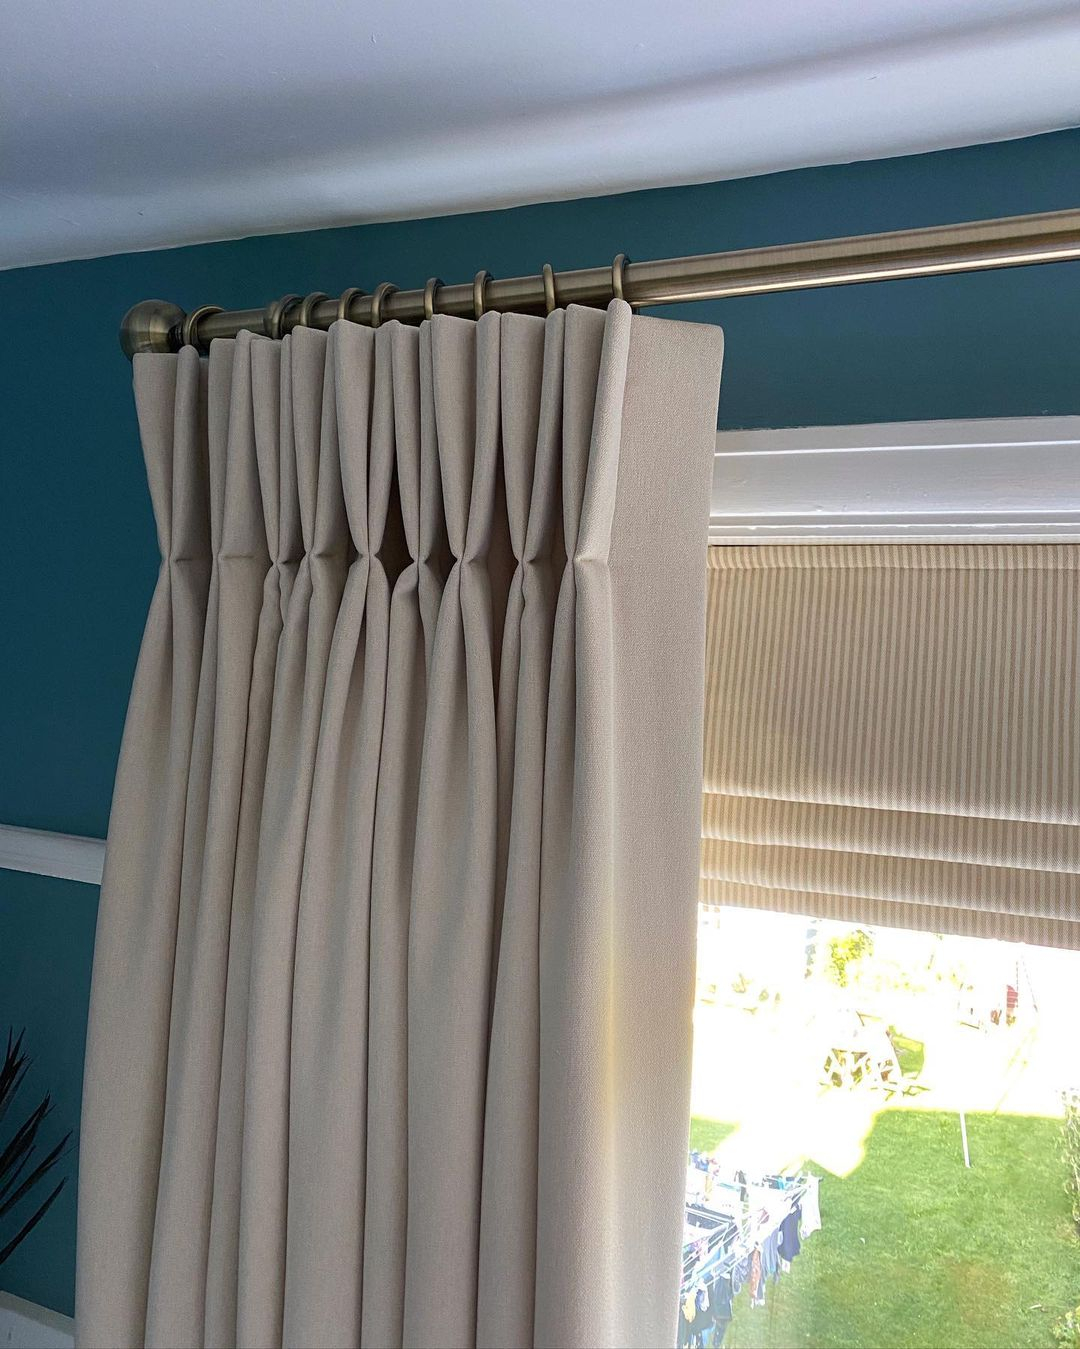
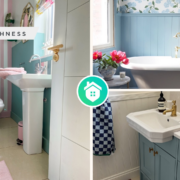
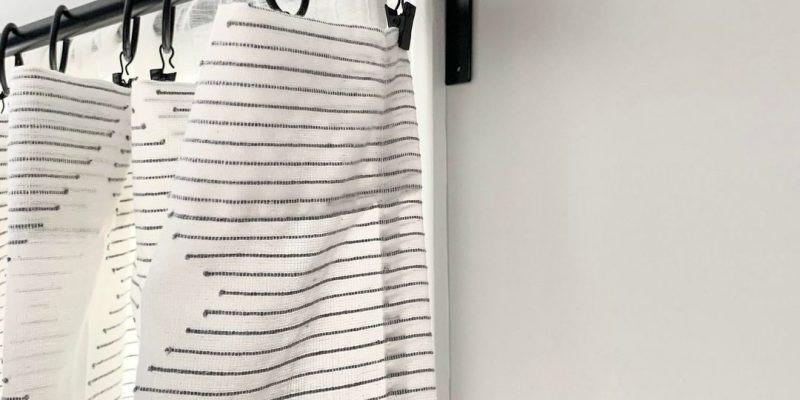
In this room, you’ll find double clasp pleated blinds on poles, along with striped blinds. The neutral fabrics complement the blue paint beautifully, creating a cohesive and neat appearance that perfectly follows the flow of the folds. Pleated shades from @vanilla.interiors
Tap-In Brackets
Equipment / Tools:
- 1 lightweight hammer
Materials:
- 2 tap-in brackets
Tap-in curtain brackets provide an innovative solution to avoid large holes in window frames or trim. Brands like Kwik-Hang and Tap Brackets offer these brackets that work similarly. For windows up to 60 inches wide, two L-shaped brackets are used, with each bracket having two thin pins on the bottom. The brackets rest on top of the window trim and can be easily secured by lightly tapping their tops.
Each pair of brackets can support up to 30 pounds of weight. For wider windows over 60 inches, a center support is required. For windows over 120 inches, two supports are necessary. This clever concept allows you to shrink the holes and move them to the top of the trim, where they remain hidden from view.
- Clean the Trim: Use a soft cloth to clean the top of the window or door trim. Focus on the four inches at each end, although you can clean the entire length if desired.
- Place the Bracket: Each kit includes a left and right bracket. Start on one side and fit the vertical side of the bracket against the vertical trim. Slide the bracket down until the pins touch the top trim.
- Tap the Bracket Into Place: Use a lightweight hammer to gently tap the bracket into the trim. Be careful not to tap too hard to avoid damaging the trim.
- Repeat for the Other Bracket: Move to the other side of the window or door and tap the bracket into place in the same manner.
- Add the Curtain and Curtain Rod: Separate the curtain rod into two pieces. Slide the curtain onto one side and reassemble the rod. Standing on a chair or ladder, rest the curtain rod into the brackets.
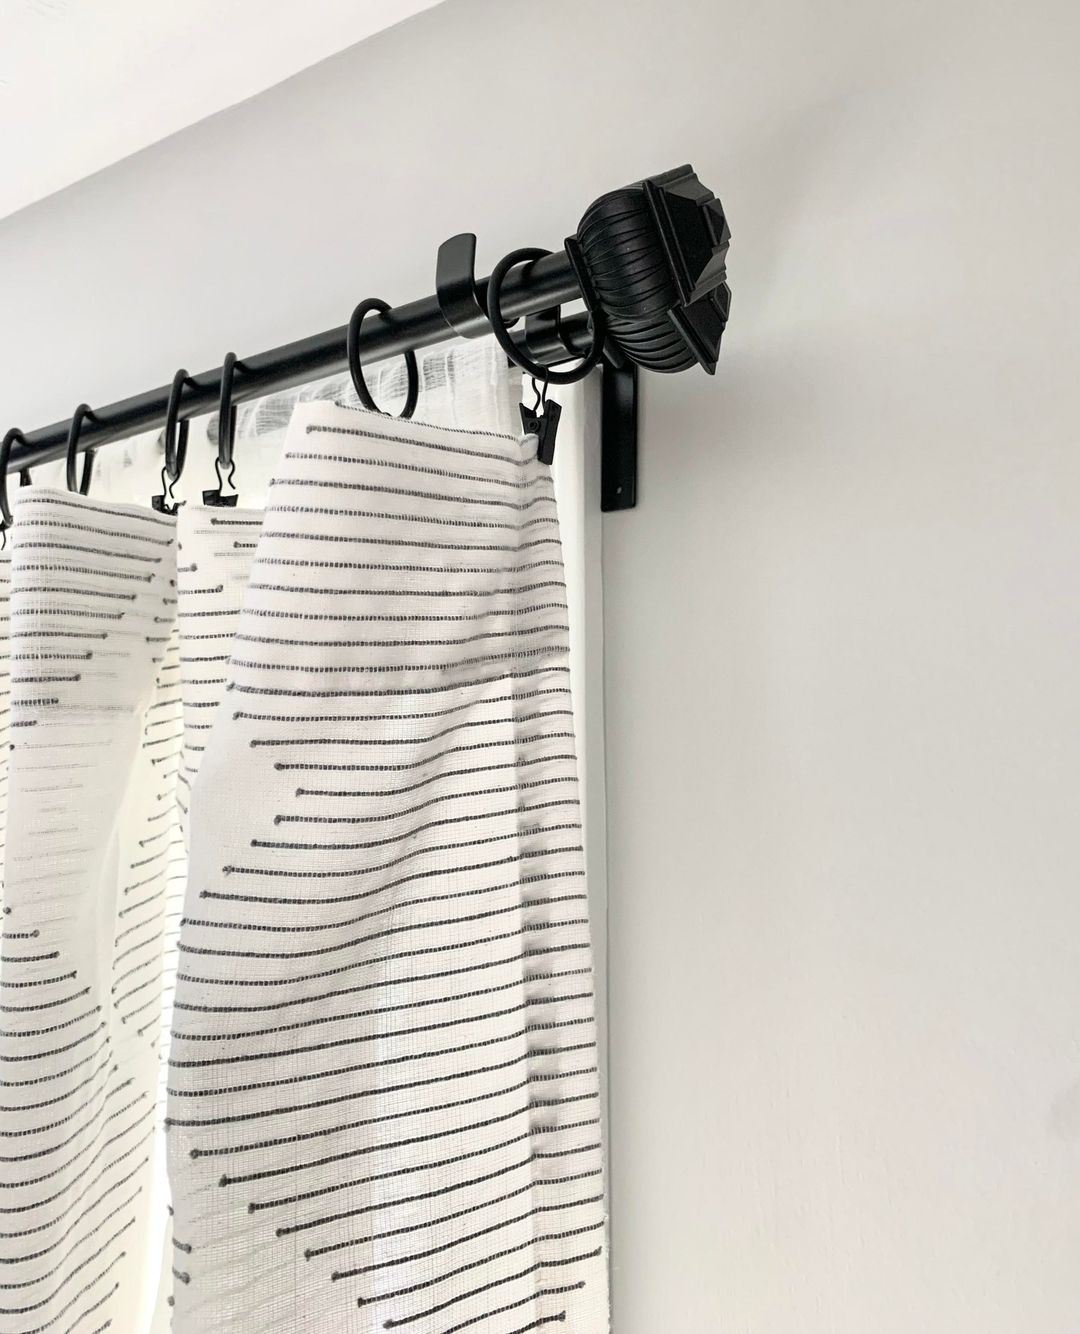
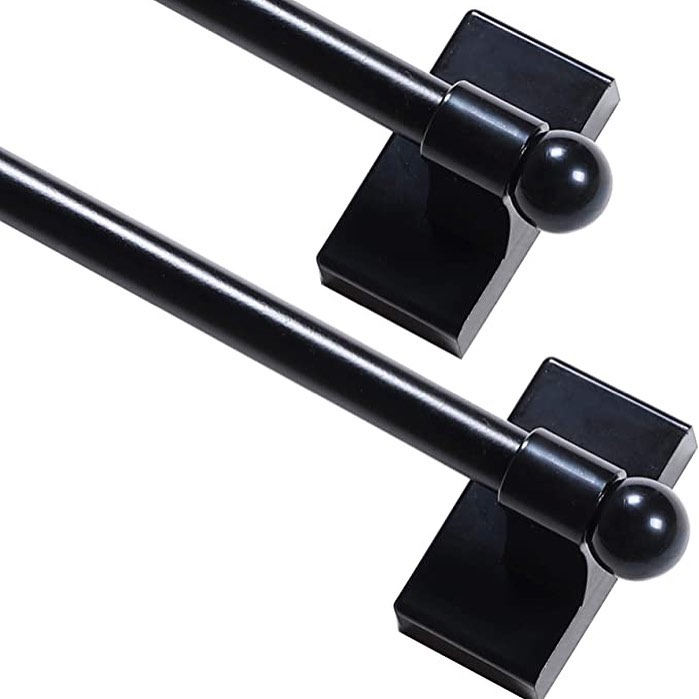
Introducing a premium adjustable curtain rod bracket in black color, designed to securely hold curtain rods on the wall. Available in various sizes and styles, these brackets cater to different types of curtain rods and windows. Brackets from @kwik_hang
Magnetic Curtain Rod
Equipment / Tools:
- 1 tape measure
Materials:
- 1 magnetic curtain rod
Magnetic curtain rods provide an ideal solution for those who want to avoid drilling, nail holes, or adhesive. These rods resemble regular curtain rods with a metal construction, adjustable length, two side brackets, and a projection of about 1-1/2 inches from the wall. Mounting magnetic curtain rods on walls or doors is effortless, and they can be easily removed without leaving any damage behind.
One limitation of magnetic curtain rods is that they require a metal surface for mounting. It’s important to note that only ferrous metals like steel can hold the magnets, whereas materials such as aluminum, copper, or brass won’t work. Additionally, the magnets are not strong enough to stick to drywall screws or nails embedded in walls.
However, magnetic curtain rods can securely attach to metal trim or any other metal components around windows. They also work effectively on metal exterior doors with windows that need to be covered.
- Clean the Surface: Use a soft cloth to clean the metal surface. Remove any loose paint or dried adhesives.
- Separate the Curtain Rods: Pull apart the telescoping curtain rods, separating the narrower piece from the wider one.
- Add the Curtain: Slide the curtain onto the wider rod. Then, slide the narrower section back into place.
Stick the Curtain Rod to the Surface: Adjust the width of the telescoping curtain rod to the desired size. Stick the two brackets onto the metal surface. Make any necessary width adjustments. Check the level using a bubble level or by eye.
A preferred method for displaying a quilt or wall design is with the use of an invisible magnetic hanger. This hanger securely attaches to the wall without causing any damage, thanks to the strength of the white circle magnet. Magnetic curtain rod from @bulldogliquidatorsvalencia