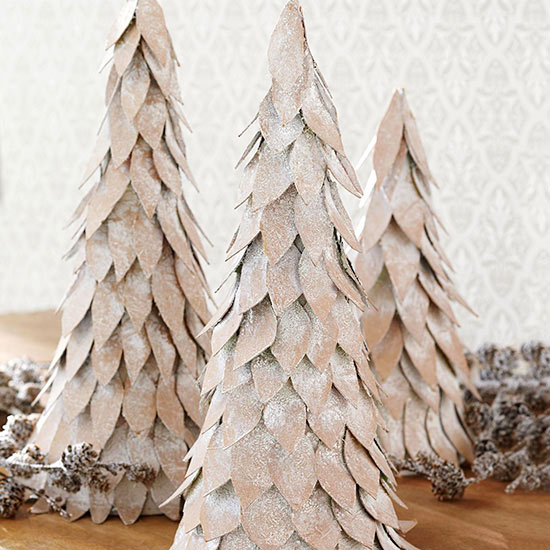
Christmas cone trees are always lovable. This timeless trend is a DIY holiday project that is easy to do and can be personalized to your home. Not to mention that the project is also cheap even though it doesn’t look cheap at all—which is great!
The basic materials to do these DIY Christmas cone trees are decorative paper, light cardboard, or poster board. You can also use recycled materials, like empty cereal boxes. Don’t forget some crafting glue and you’re good to go. Below are some ideas you can try at home.
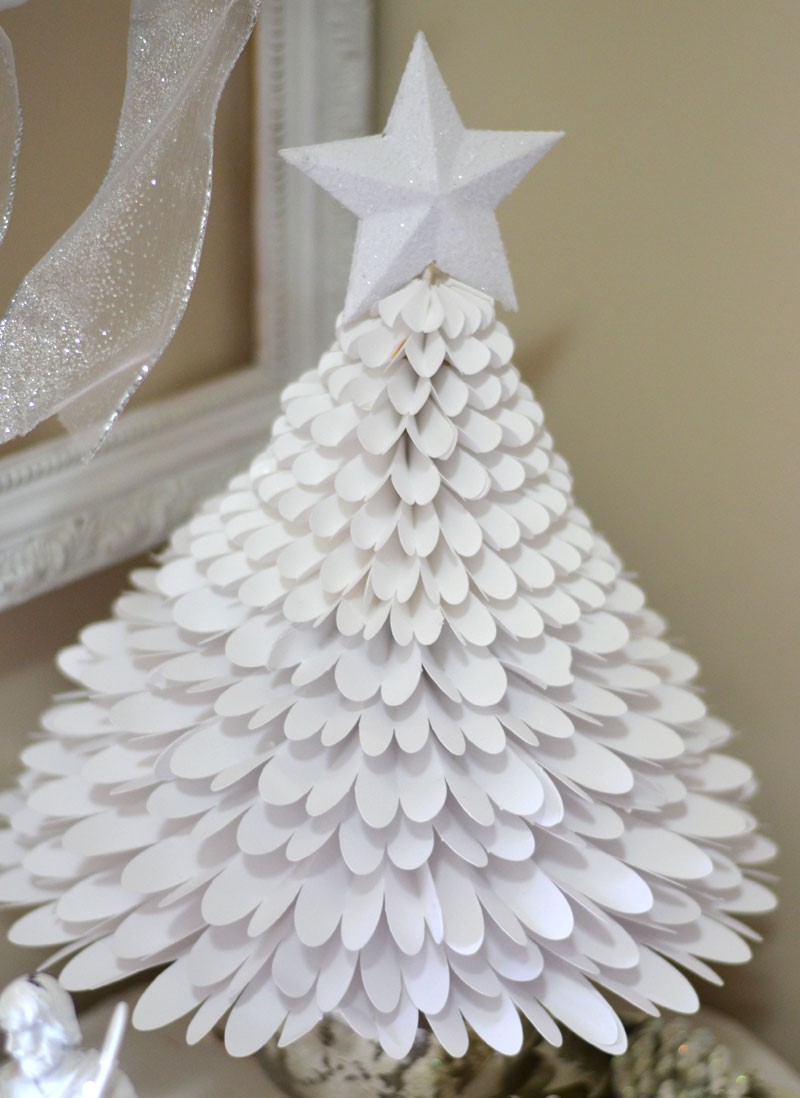
Snowy Christmas Cone Trees
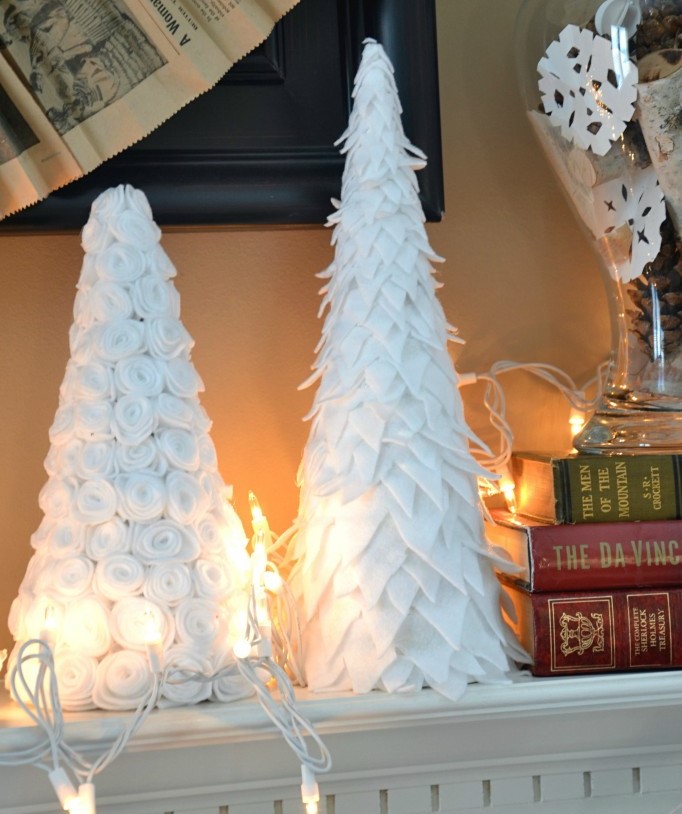
Christmas holidays have always been linked to snow and white colors. So, if you want to make some traditional Christmas cone trees, this idea is for you. Roll a rectangular decorative paper or cardboard to form a cone. Stick the tip with hot glue. Let it dry and stick white faux bird feathers on the cone surface. Make layering form so that it looks like a real pine tree. Tada! It feels as if it’s snowing inside the house!

Glam Christmas Cone Trees
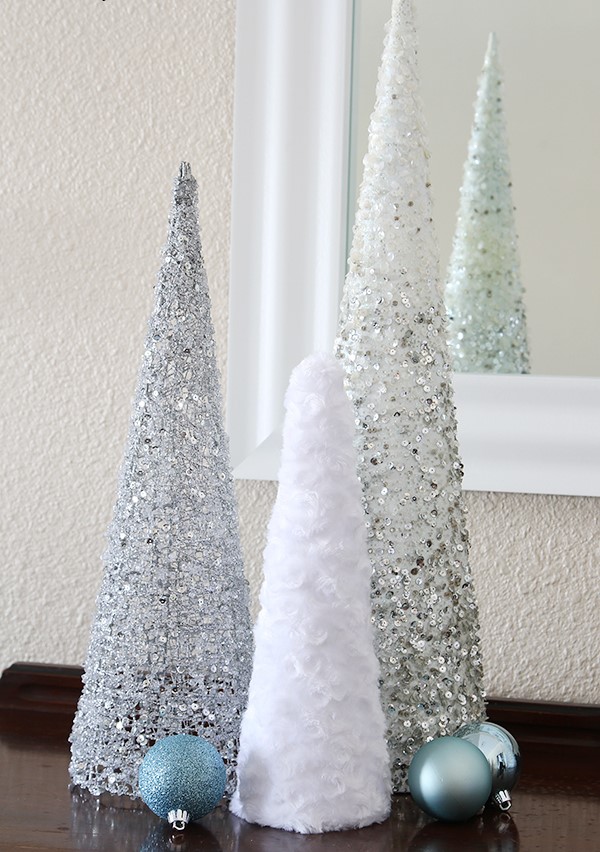
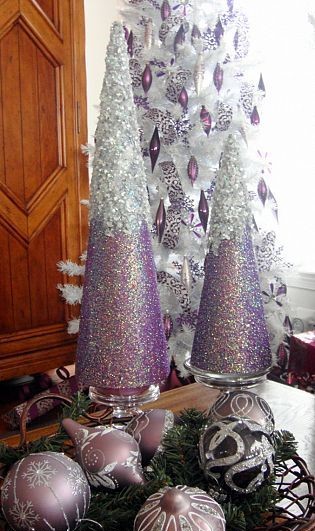
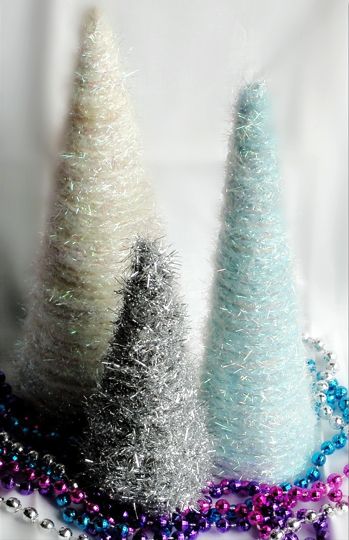
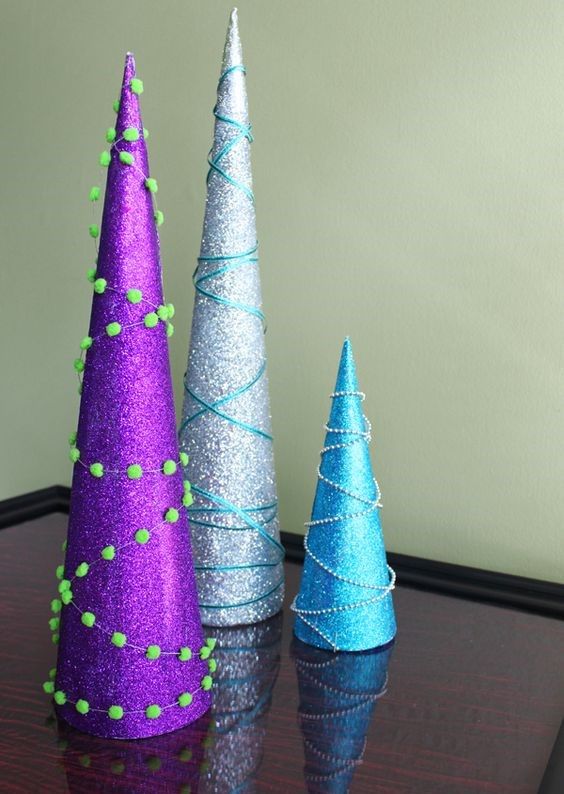
Want something more festive for this holiday season? Just make these glam Christmas cone trees. Roll a poster board to create some cones and add some hot glue on the tip to make your cones firm.
Trim the cone bottoms so that they are even and can sit nicely on any surface. Spray on the cones with adhesive spray and pour some glitter. Once all parts of the cones are covered with glitter, let them dry. Then, get ready to rock the party!












Recycled-Coffee Filter Christmas Cone Trees
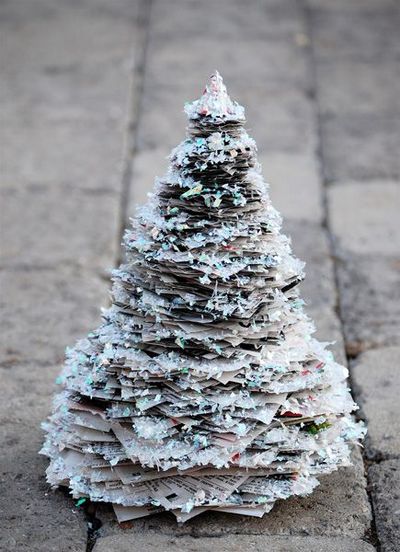
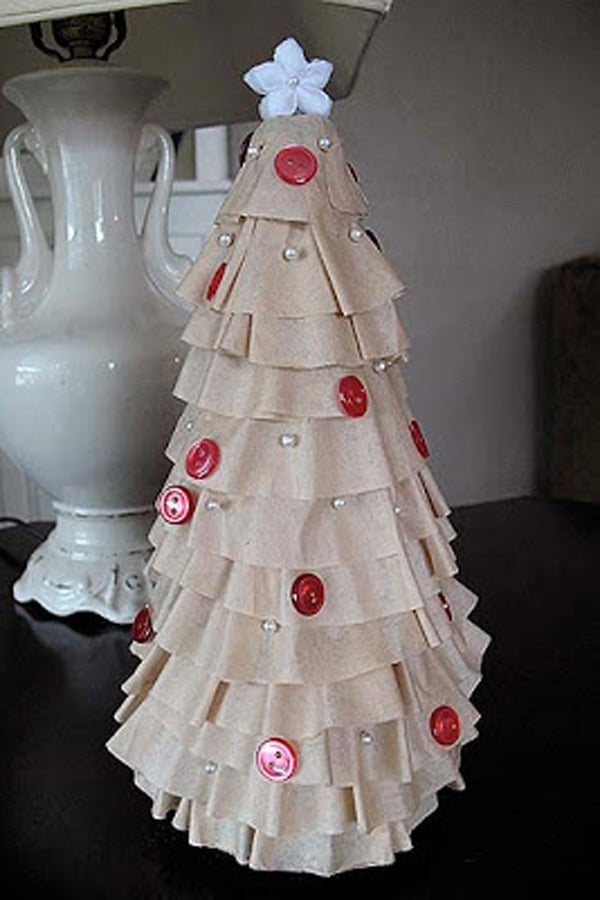
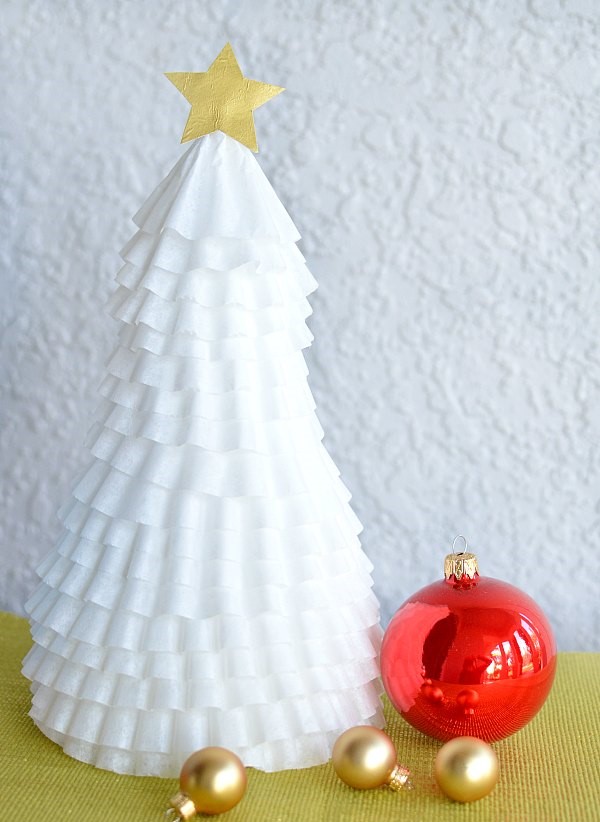
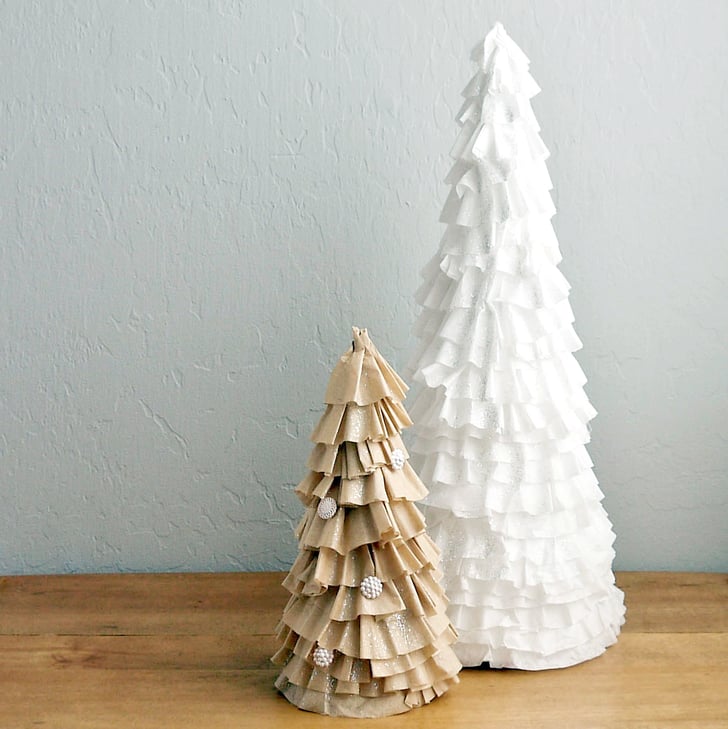
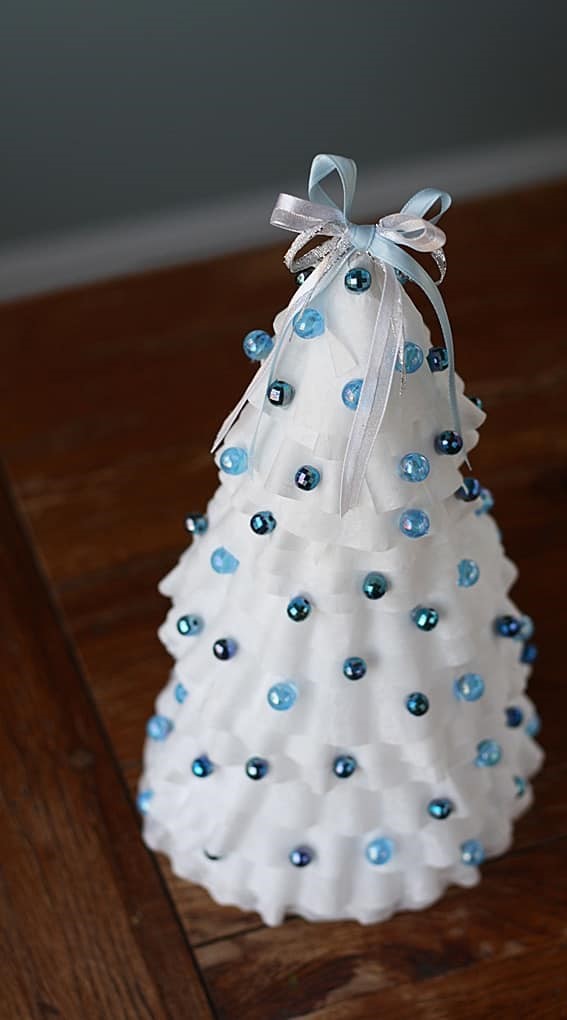
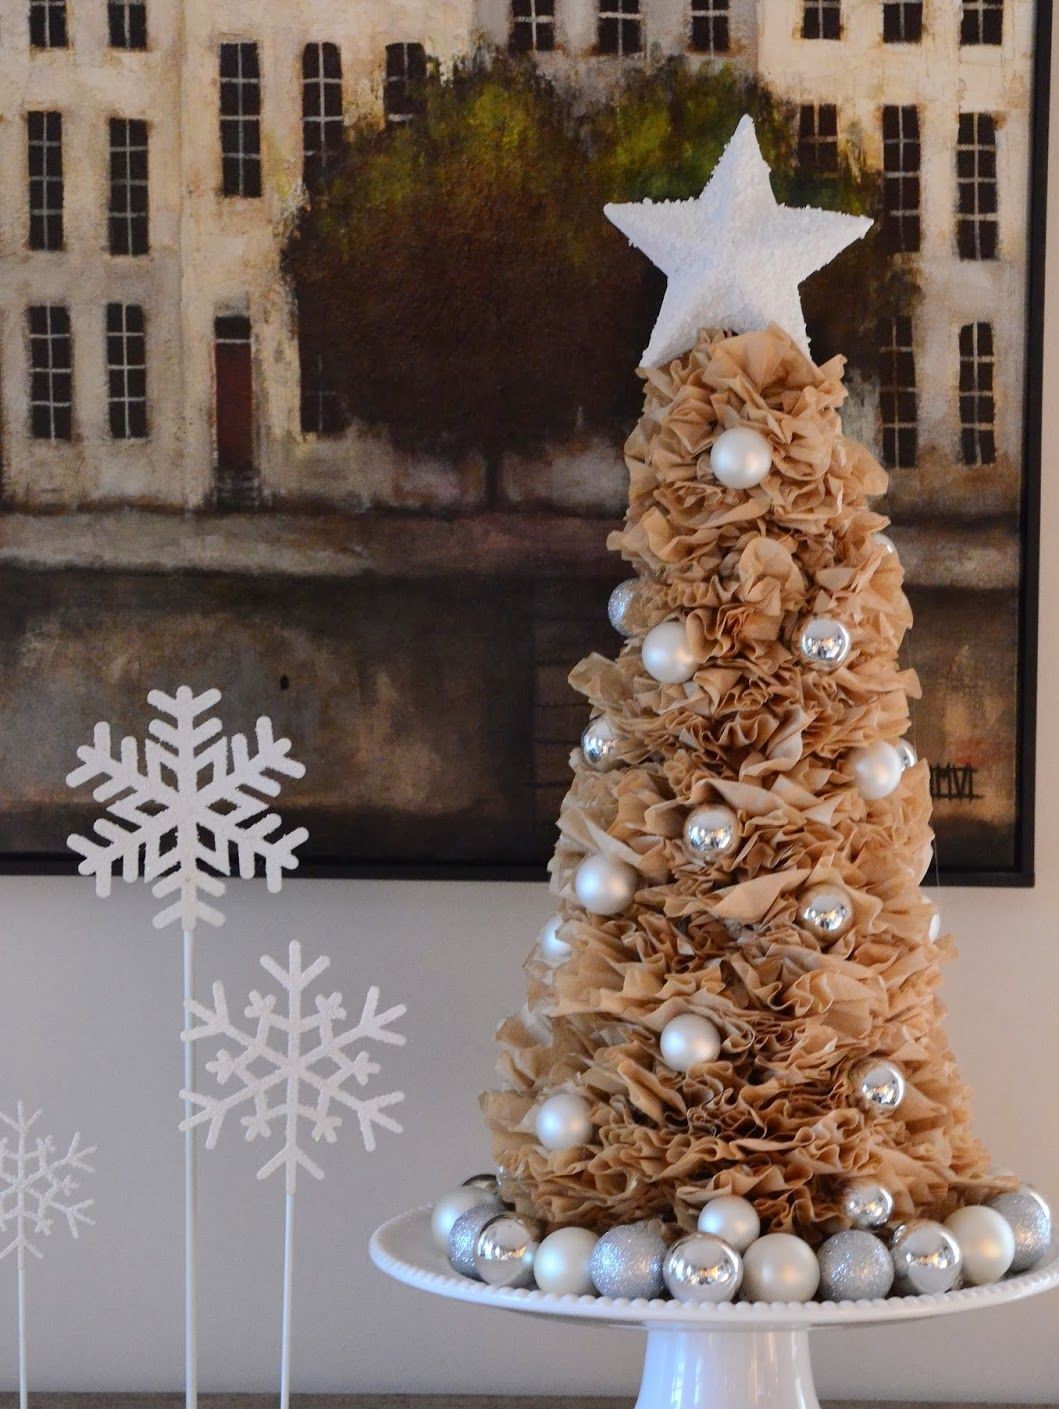
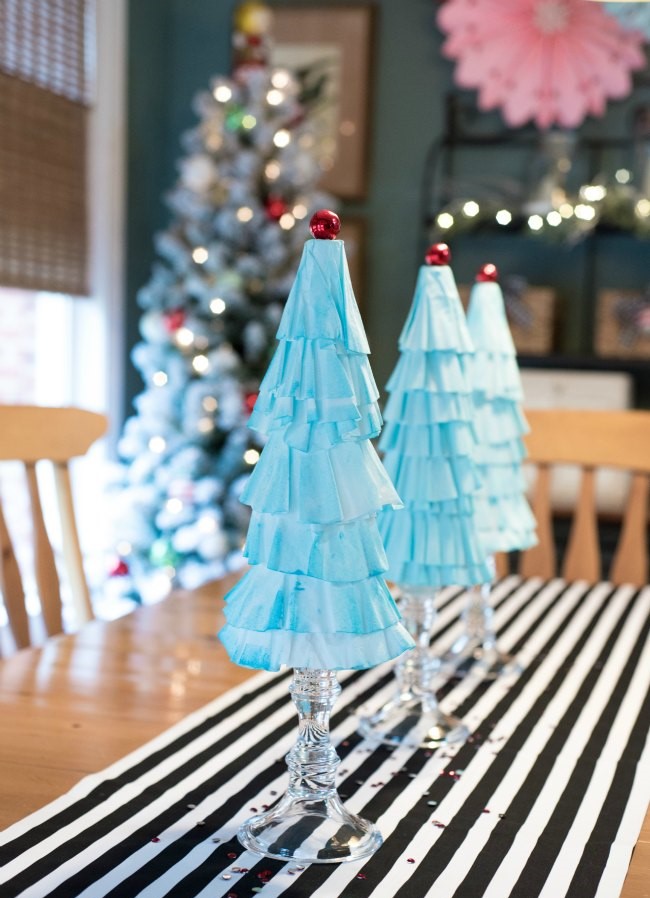
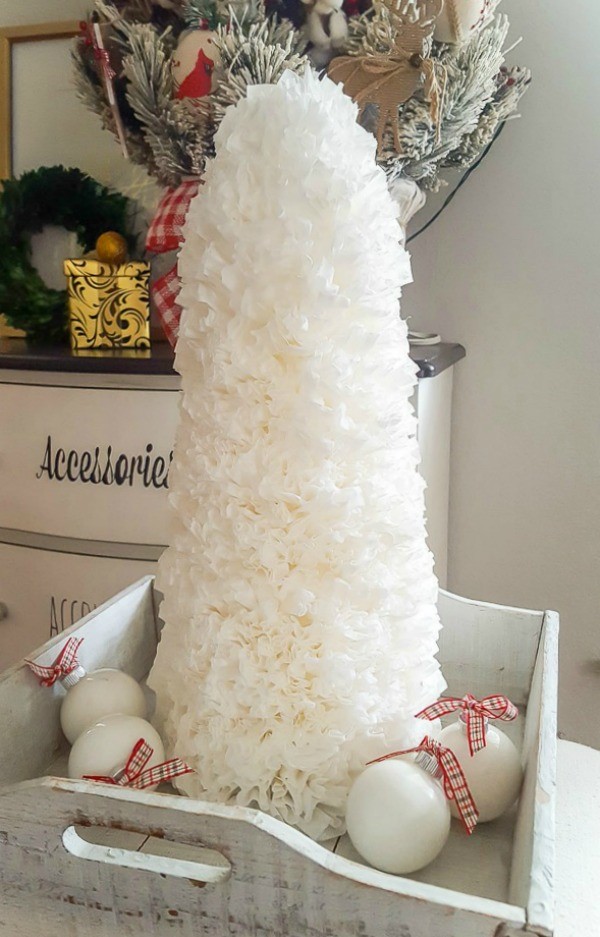
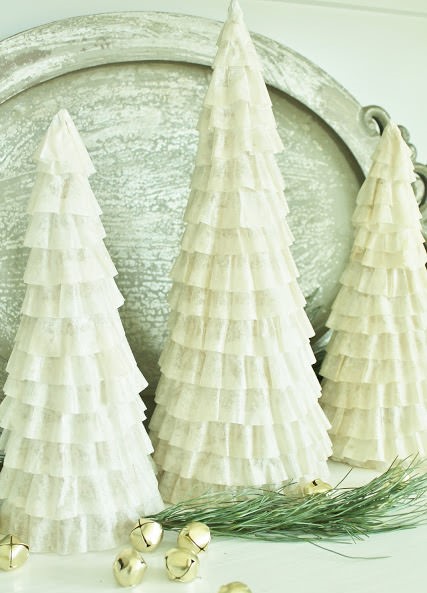
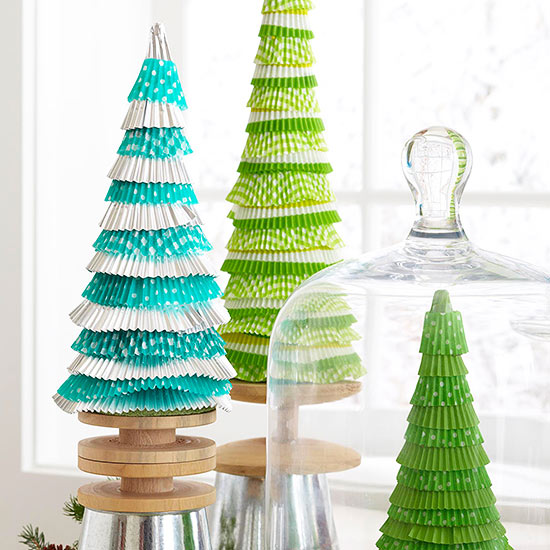
If you want to do a DIY project with recycled materials, this idea can be considered as well. Make cones out of used cereal boxes (or used poster board) and cut some coffee filter paper on the middle, creating a hole on that part. Stick and stack all the holed filters on each cone, creating layers. When the glue is dry, you can optionally add some glitter on the layers. Voila!


Do at least one of the DIY indoor Christmas cone trees above to add more feel of festivity in your house this winter.


