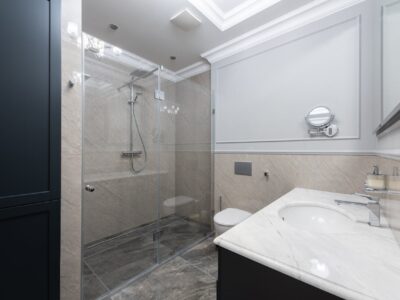
Laminate countertops is a material made from plastic fused with paper kraft or particle board. It is an economical, low maintenance, and versatile solution for countertops with difficult dimensions. The material is easy to maintain with soap and water, unlike quartz and marbles that need special sealers and polish. Laminate countertops are family-friendly since they do not attract bacteria and come in a wide range of colors, patterns, or materials.
The biggest problem when it comes to laminate countertops are the seams. It occurs when your countertop is larger than the size of the laminate requiring additional sections to cover the entire surface. Therefore, it is vital to know how to join two laminate countertops without having issues with seams.
Dangers of Seams on Laminate Countertops
The seams compromise on the aesthetics and beauty of the countertops. Although laminate countertops are nonporous, seems to create a loophole for water, grease, and other spills. Oil and grease form a grimy line along the countertop, which traps food particles and dirt. As such, the seam becomes a breeding place for harmful bacteria.
Preparations
Before getting started, ensure you have all the right tools and materials for the job. Here is what you need:
- Seam filler – Mechanically bonds with the substrate of laminates and become part of the surface upon drying
- Acetone – Helps in cleaning surfaces due to its ability to dissolve most organic compounds
- A putty knife – Assists in scraping off surfaces
- Clean rag or sponge – For wiping surfaces
- Soft-bristled brush- Moving debris away from the countertop
- Plastic container – To pour the seam filler or glue on
- Coloring – For mixing with the filler
How to Hide a Countertop Seam
Step 1
Brush away dust or debris along rather than across the seam. Use the putty knife to dig and scrape out any debris. Take the brush and clear the dirt away. Pour a small amount of acetone on the rag or sponge and wipe the seams on the laminate. Cleaning allows the filler to bond properly.
Step 2
Pour seal filler on the plastic container or plate. Mix well with the coloring that matches your laminate till the color becomes consistent.
Step 3
Use the edge of the putty knife to scoop and apply the filler across the seam. Please note that filling across and not along helps to capture the filler in the exact places. Continue adding till the seam is full, leaving no gaps. You may require to repeat this process since the filler shrink as it dries.
Step 4
Use the putty knife and remove any excess filler on the countertop. For an excellent outcome, hold the putty knife horizontally and flat against the laminate. Be careful not to scrape the filler from the seam. Once you are satisfied the laminate is leveled, brush away the dried filler. Apply acetone on the clothes and clean the surrounding seams.
Key Points
The filler dries fast, so ensure you complete the assignment in one go. Moreover, ensure the putty knife is clean when adding each filler for a smooth finish. Finally, use small quantities of the putty at a time to avoid messing up.
How to Join Two Laminate Countertops
Step 1
Custom cut laminate countertops used to the desired dimensions. Make a countertop 45 degree angle cut when joining the pieces at a corner. For pieces along a run, make a straight cut at a 90-degree angle.
Step 2
Use a file or sander to smoothen rough edges on the laminates.
Step 3
Slide the pieces into place and test if they fit appropriately before applying any laminate countertop glue.
Step 4
Attach a 1/2-inch block of wood cut to fit along the edges you made in step one on the flip side of the countertops. Make sure that your screws do not penetrate the other side of the laminate.
Step 5
Return the countertops in an upright position. Apply glue for kitchen countertops along the sides of the joint.
Step 6
Carefully slide the countertops tightly together. Clean off any glue that seeps from the countertops.
Step 7
Use miter bolt and clamp countertops in position from the woodblocks on the underside.