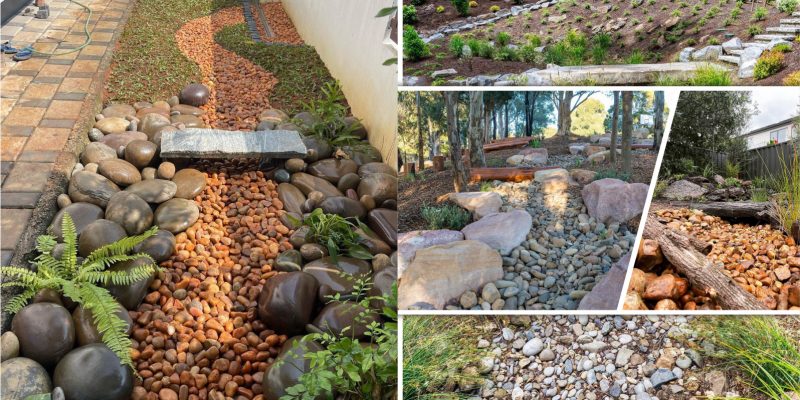
Talking about landscape design, never forget to design proper drainage. The beauty of the landscape is not only determined by the plants and their design, but also how to properly regulate and dispose of the water flow. It means you need to build drainage in your landscape. Drainage can be interpreted as a way for removing excess water masses naturally or artificially from an area such as housing, cities, and roads. And in landscape ideas, drainage is needed. Excess water in a landscape if it cannot be disposed of properly will damage the landscape itself. So, among several drainage ideas for landscapes, you can apply a dry creek bed.
Dry creek beds are an excellent solution for addressing places in the landscape that are hard-hit by heavy rains. They help divert water away from your house, driveway, or neighbor’s property and can save you from long-term damage. The good news, a dry creek bed is an effective drainage solution and also, it can be an attractive feature for your landscape that needs very little maintenance. The most important thing is you have to decide exactly how it looks and designing the path creek.
To design a functional and aesthetically pleasing dry creek bed, start by learning how water moves naturally. Study the path it takes around obstacles, how it pools and scurries between boulders, and how it pushes small rocks and branches into ever-changing formations. Once you know how water moves, you can start brainstorming a design for your dry creek. Be sure to include curves, but avoid creating too many – they might hinder the flow of water. Here are some ways to create a dry creek bed.
Digging the Trench
Digging the trench is a simple, but often overlooked step in creating a dry creek bed. It requires a bit of knowledge and the right tools to get started. First, you’ll need to dig the trench wide enough that you can easily stand and work in it. You can make it as wide as 18′′ to 24′′ if you are slim and trim, or a bit wider if you are tall and bulky.
Once it is dug, you’ll need to level and shape the sides of the trench. A hoe is a great tool to use for that. You can also use a pick mattock to break through hard soil and chop up roots. You can also bring a 60’’ pointed ‘rock bar’ for prying through extremely hard dirt like caliche.
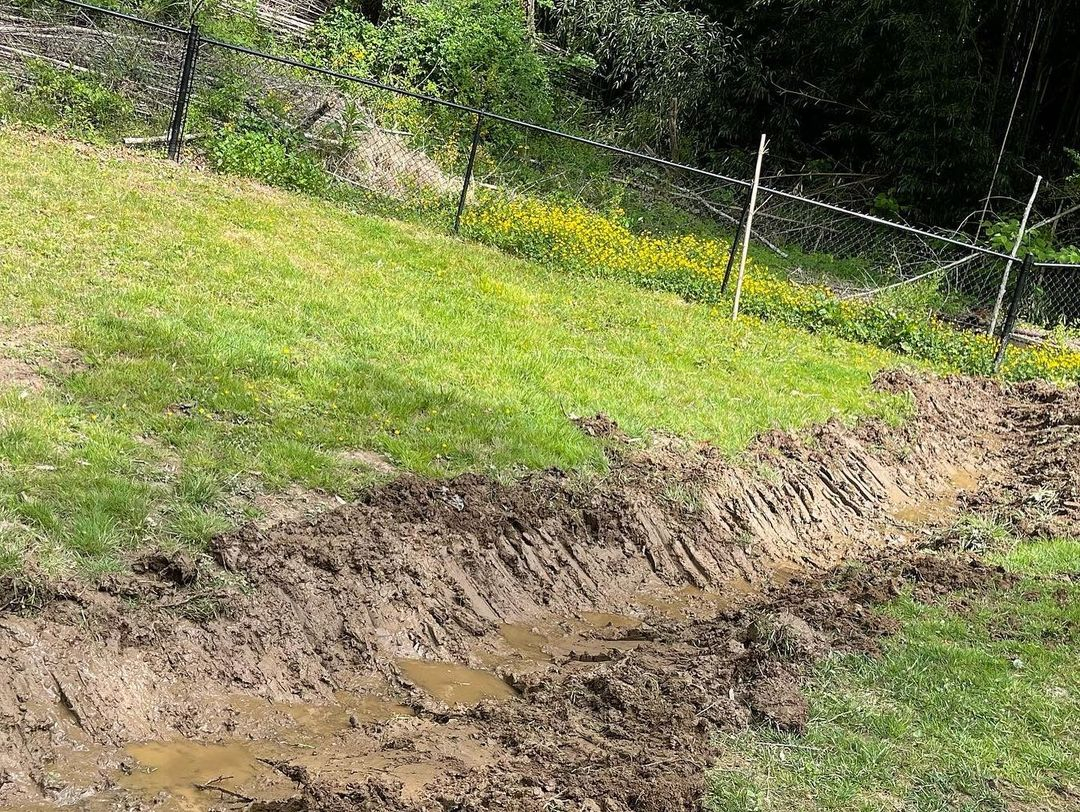
The first step you can take before adding a dry creek bed to your landscape decoration is to prepare a trench location according to the size or extent of your landscape. After that you can dig about 15 inches of soil. Soil excavation can be assisted with a hoe, backhoe or shovel which is simpler and more practical. This is an easy start that you can do yourself without having to use gardeners. The existence of this dry creek bed will add a natural texture to your landscape area. Prepare Trench from @greenspan.landcare
Laying Out the Path
Whether you want a dry creek bed for aesthetics or drainage, careful planning is key to its success. First, scope out your yard and see how the water naturally flows. This will help you determine the best place to install a dry creek bed, as well as understand which way water will flow once it’s diverted into it.
Once you’ve decided on the shape and location of your dry creek bed, lay out the path using landscape fabric or a garden hose to give you an idea of how it will look when complete. Keep the curves of the path subtle and not too wide for a more natural look.
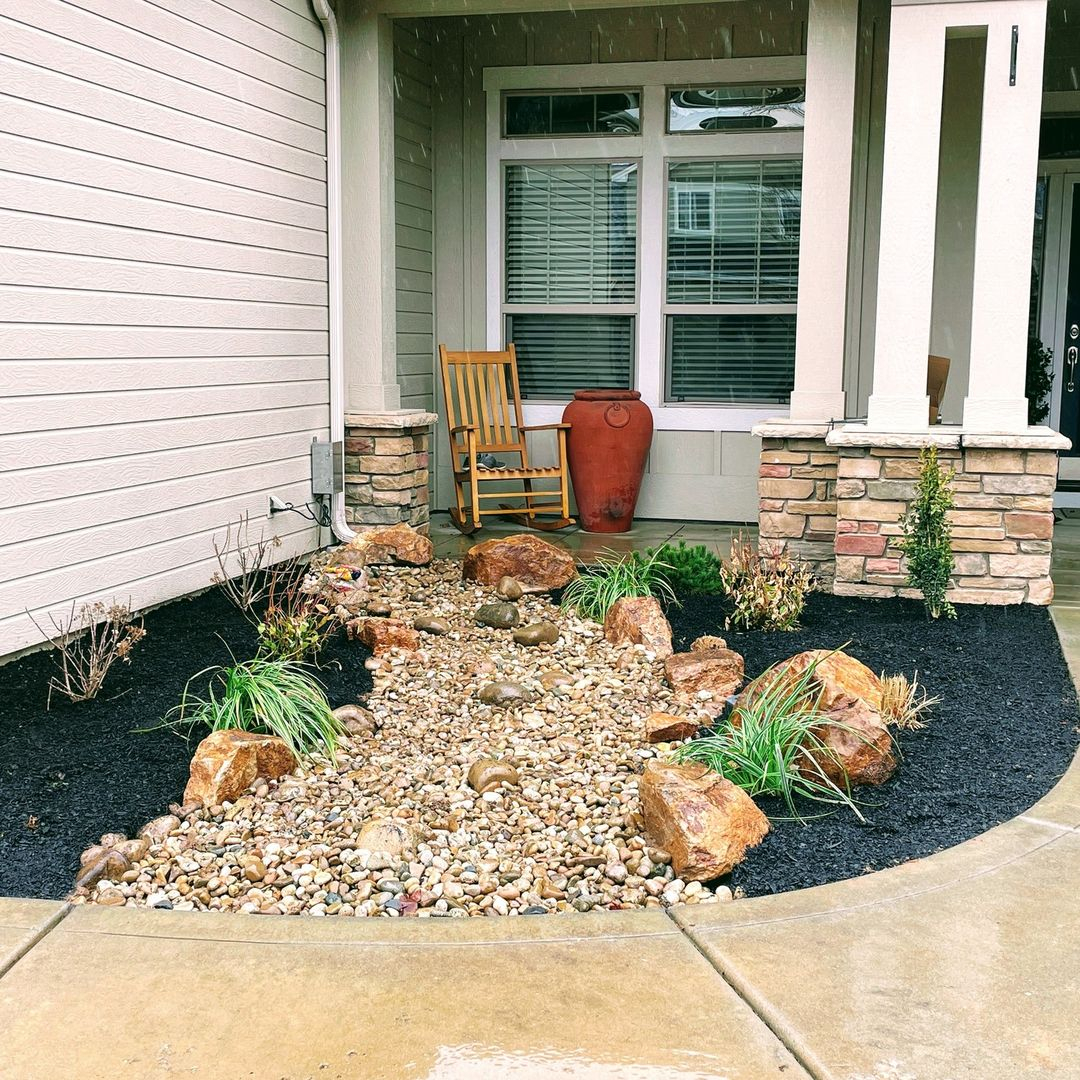
Take advantage of the front yard area as a dry creek bed decoration that you can make yourself according to the budget you have. This is the first sight when your guests or friends visit your home. Pebbles, river stones and boulders are the main ingredients that can be used, the natural ingredients used are able to provide additional color instantly. Make arrangements easily and precisely. Front Porch Dry Creek Bed from @abcgroundscare
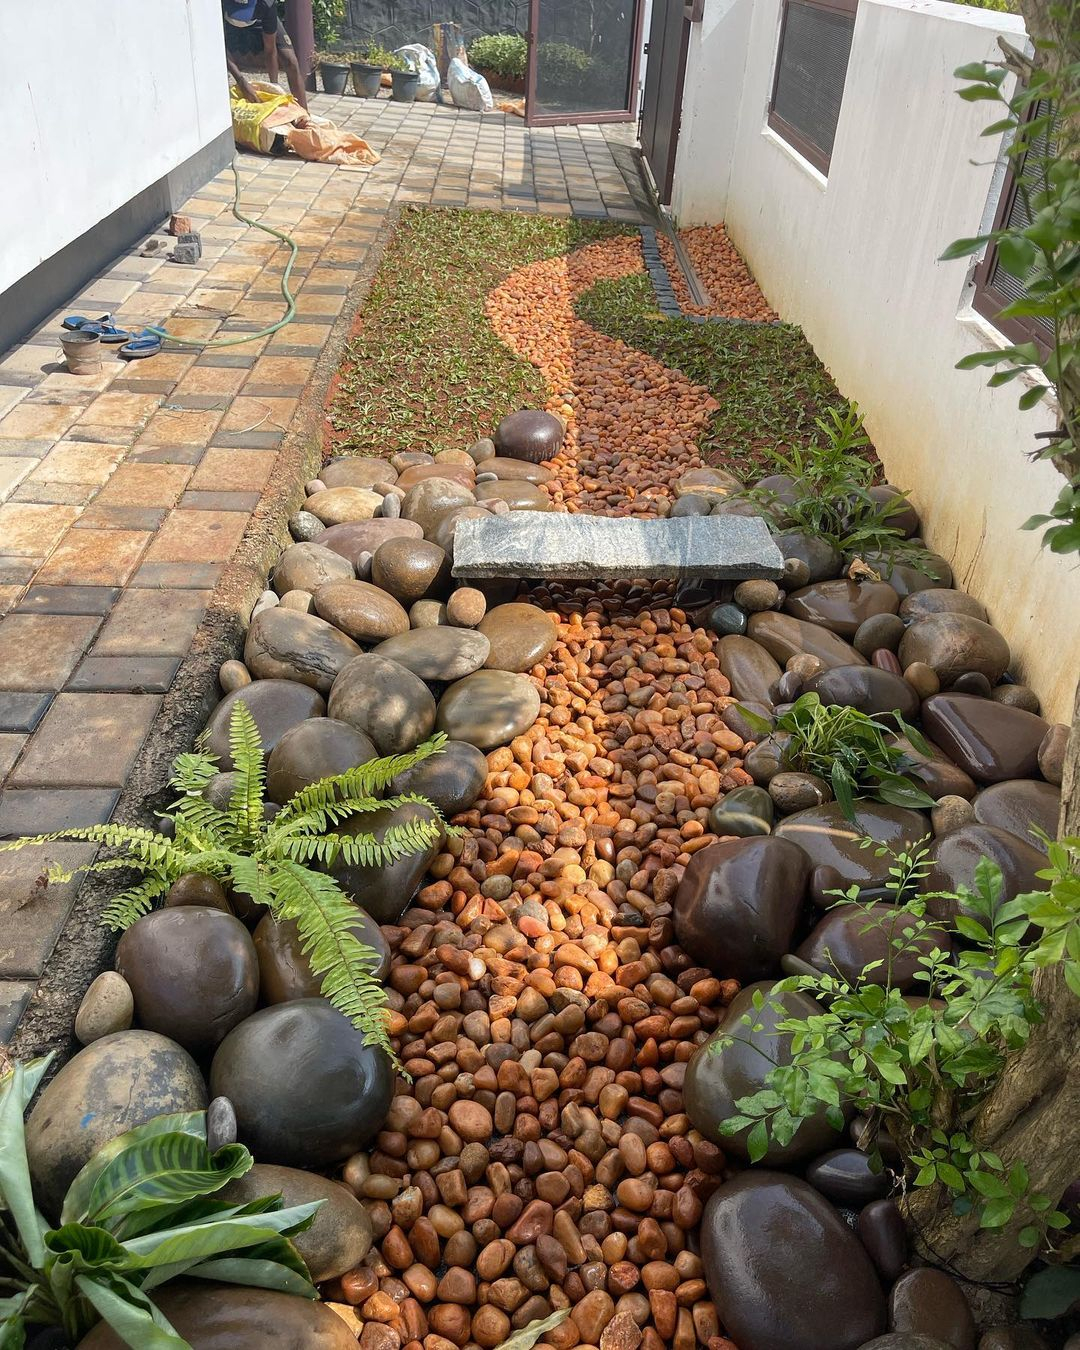
If you have an empty area in the backyard then just use it as a homemade dry creek bed with the main ingredients that can be found around your house. The presence of slab stones in the dry creek bed area can add texture to the backyard and can be used as a bridge accent. It’s not enough to stop here, you can also add some fern plants to add natural colors that can be planted in the area around this creek. Dry Creek Bed in the Backyard from @grasshopper_exteriors_
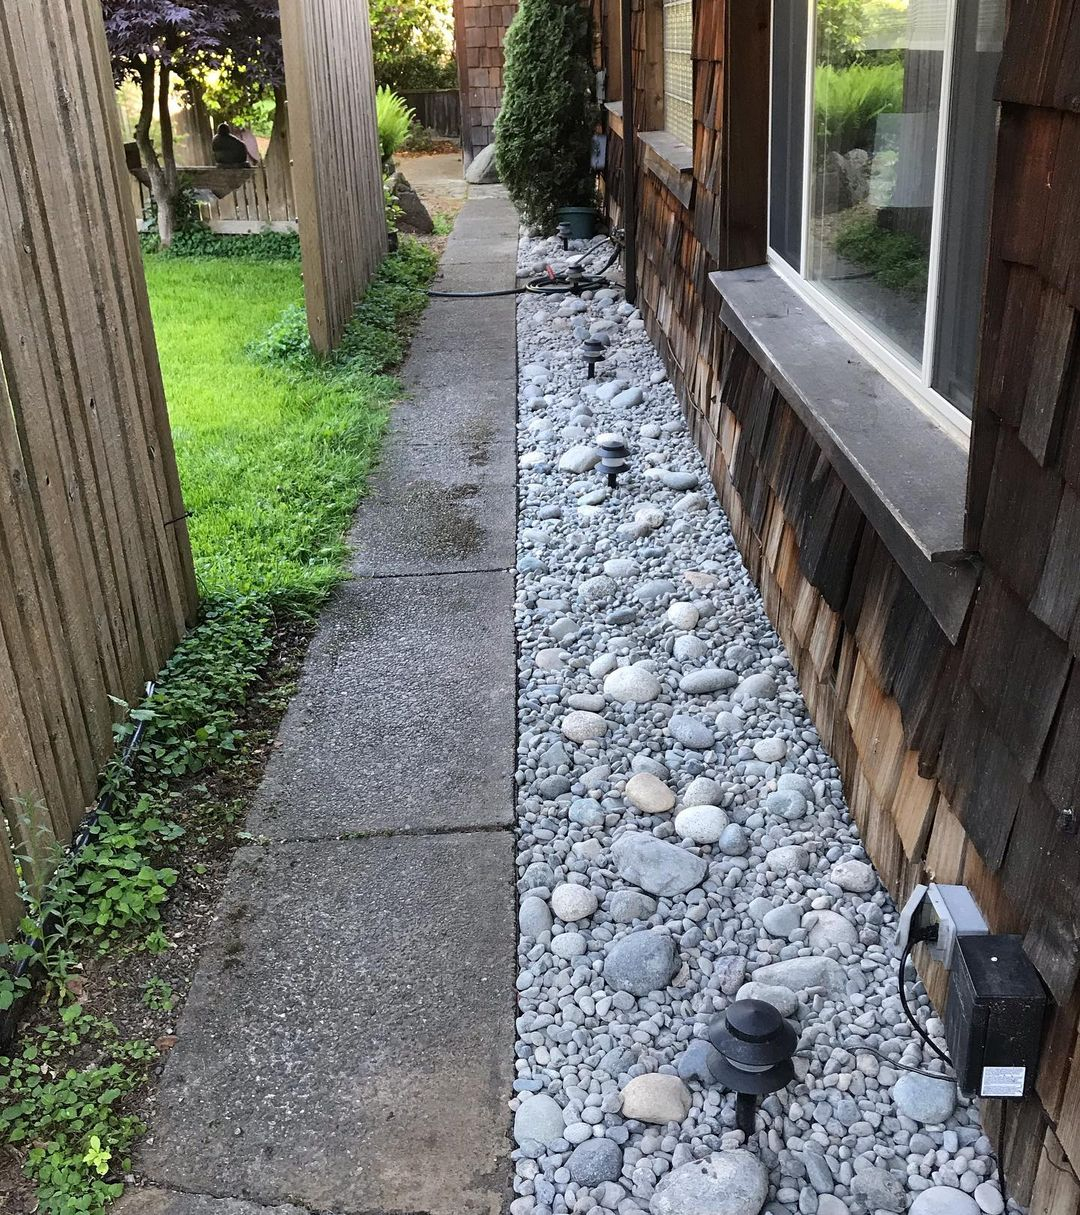
The side area of the house used to build a dry creek bed can be used as the focal point of your landscape. Curve the pathways for a more natural look and the water will flow efficiently, just do this construction yourself to save more on the budget. A typical size for a dry creek is 3 feet wide, but you can modify it as needed. Dry Creek Bed Sideyard from @lockett_lawn_and_landscape
Adding Landscaping Fabric
Landscape fabric is a common garden tool that’s used to keep weeds in check. It’s easy to install, reusable, and inexpensive. However, it’s important to know how to use this product correctly so that it works as effectively as possible. It’s also essential to take the time to prepare the soil before applying this fabric.
Landscaping fabric can be made from woven or nonwoven material. Woven fabric is more porous and ideal for covering flower beds, shrubs, and trees. The permeability of a fabric affects its ability to control weed growth and prevent seed germination. And in order to create a dry creek bed, you can apply the landscape fabric along the creek path. And make sure to cut away all excess landscape fabric along the sides of the creek. Apart from being invisible, this is also to create the beauty of a dry creek bed.
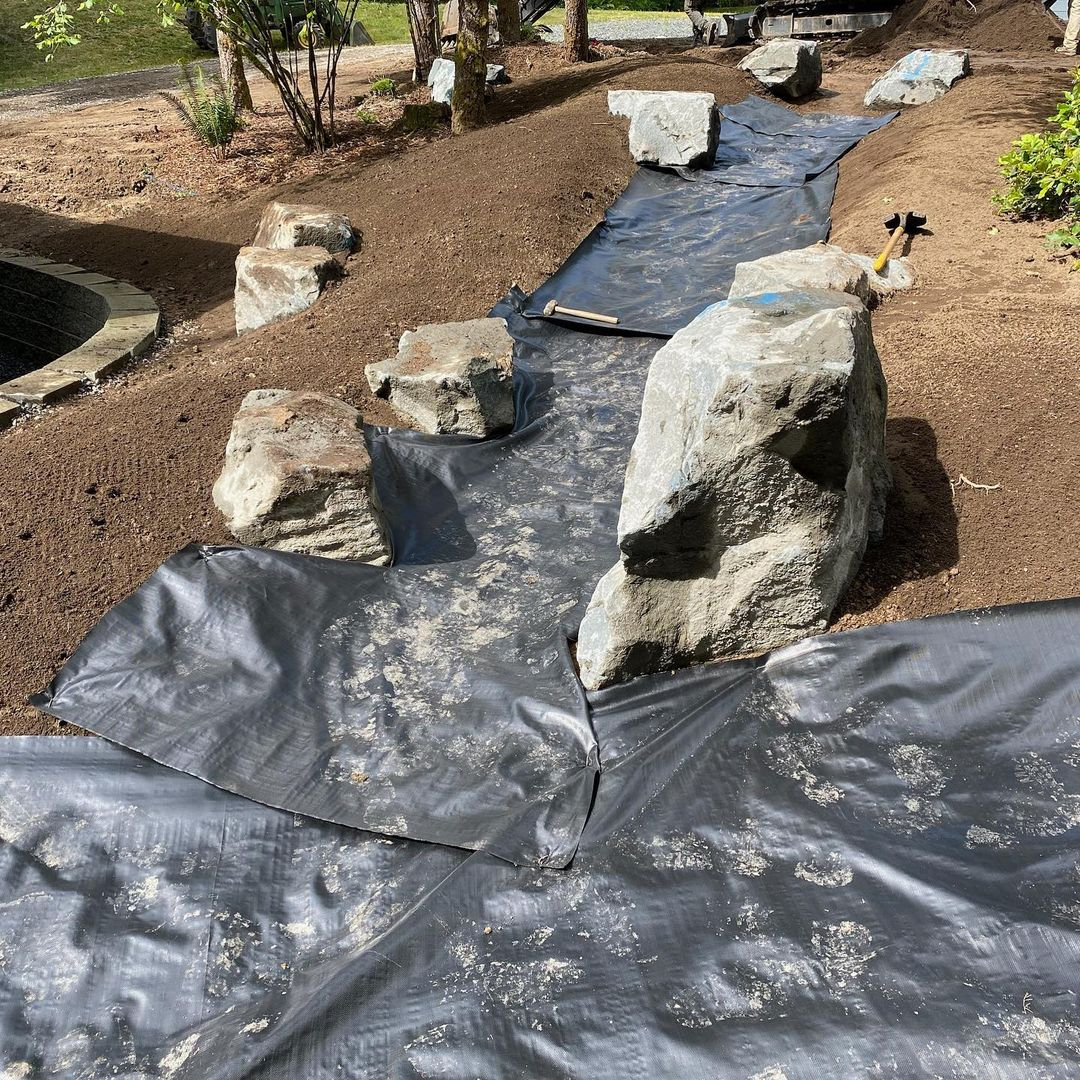
The main function of installing landscaping fabric in the trench area is to ensure the reduction of weeds and pests that will grow and develop quickly. Use the size of the fabric according to the width and length of your creek trench. Run farther up the side of the trench and begin installation from the bottom end or creek to the top, securing the fabric in place with landscape fabric staples, or you can allow the rocks to hold it in place. Fill Entire Trench with Landscaping Fabric from @leapfroglandscape
Adding Rocks and Boulders
Adding rocks and boulders to your dry creek bed is a great way to add color, texture, and character to your landscape. They are also a good way to divert water away from your home and help it drain better. When selecting the rocks for your dry creek bed, consider the color of the soil and other natural materials in your yard. You can choose from round and angular stones in many colors, including pink, gold, brown, tan, and green. To make your rock landscape design more natural, try avoiding symmetry and vary the sizes of your boulders to create more of a random look. You can also place the largest boulder off-center, which helps to give it a more organic feel.
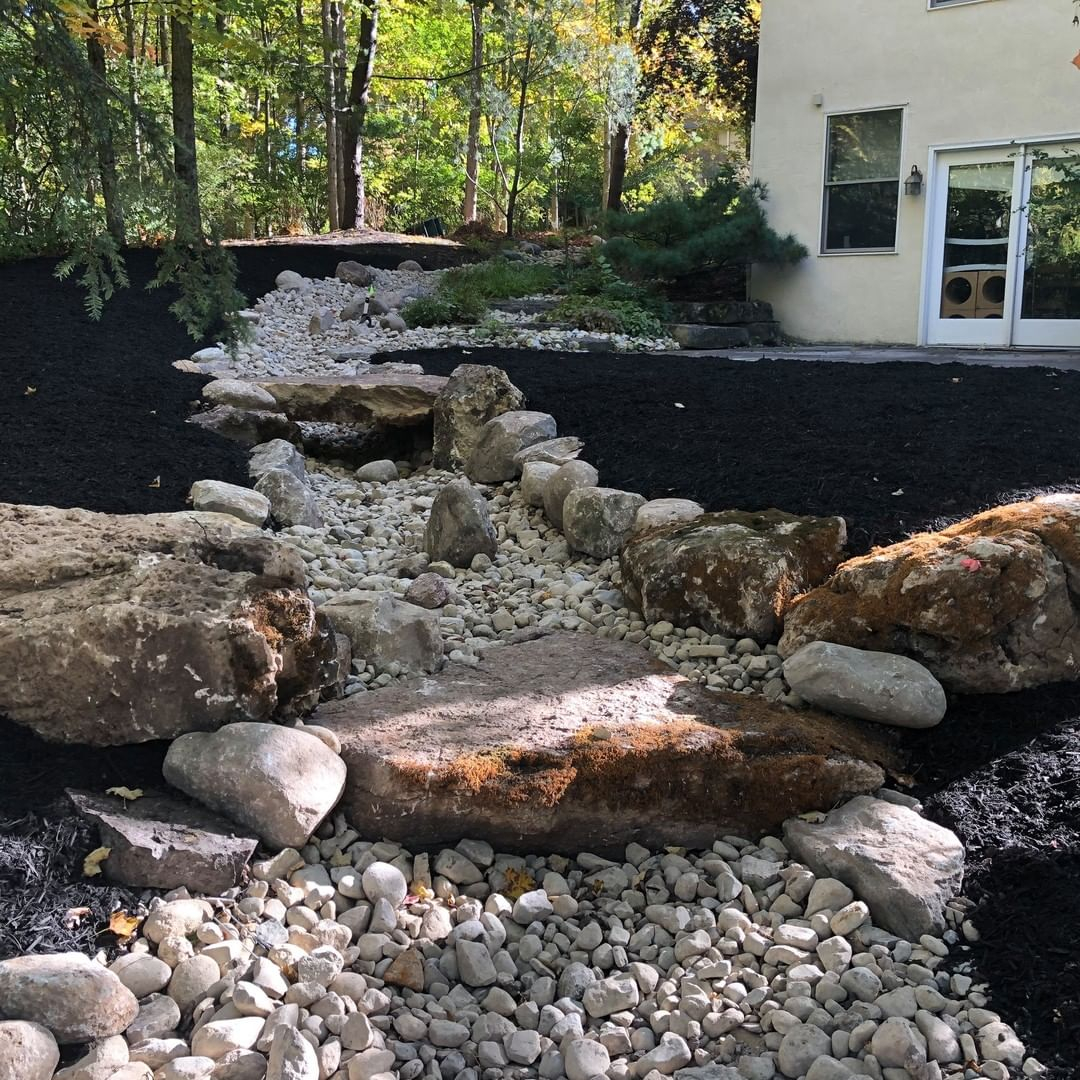
The main rock material that is used as a dry creek bed decoration in the backyard garden area is the best idea that you can apply. Consider using white-dominated rock for a more eye-catching final look. Not only rock, but you can also combine it with several boulders that have a large size so that they can be used as an outdoor focal point in your landscape area. White Rock Dry Creek Bed from @landscapesbyterra
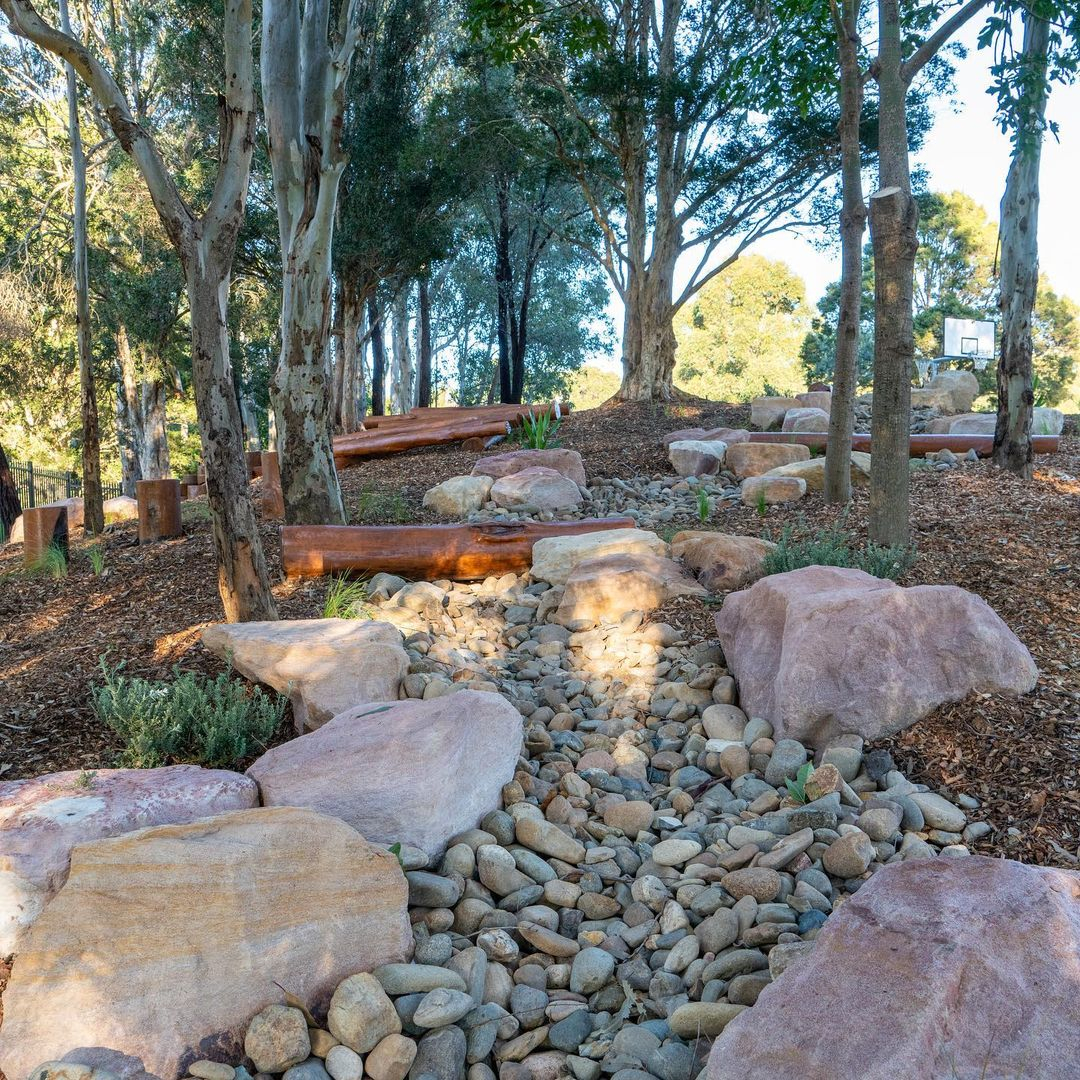
Large boulders can be used to decorate the sides of a dry creek bed which can be used as the focal point of your garden. In addition, the middle part of the creek can be filled with rock which has a predominance of gray and black so that it can provide a beautiful color contrast with the various types of plants around it. Some logs can be applied to the surrounding area to be used as a sitting area. Natural Material Dry Creek Bed from @naturalhabitatlandscapes
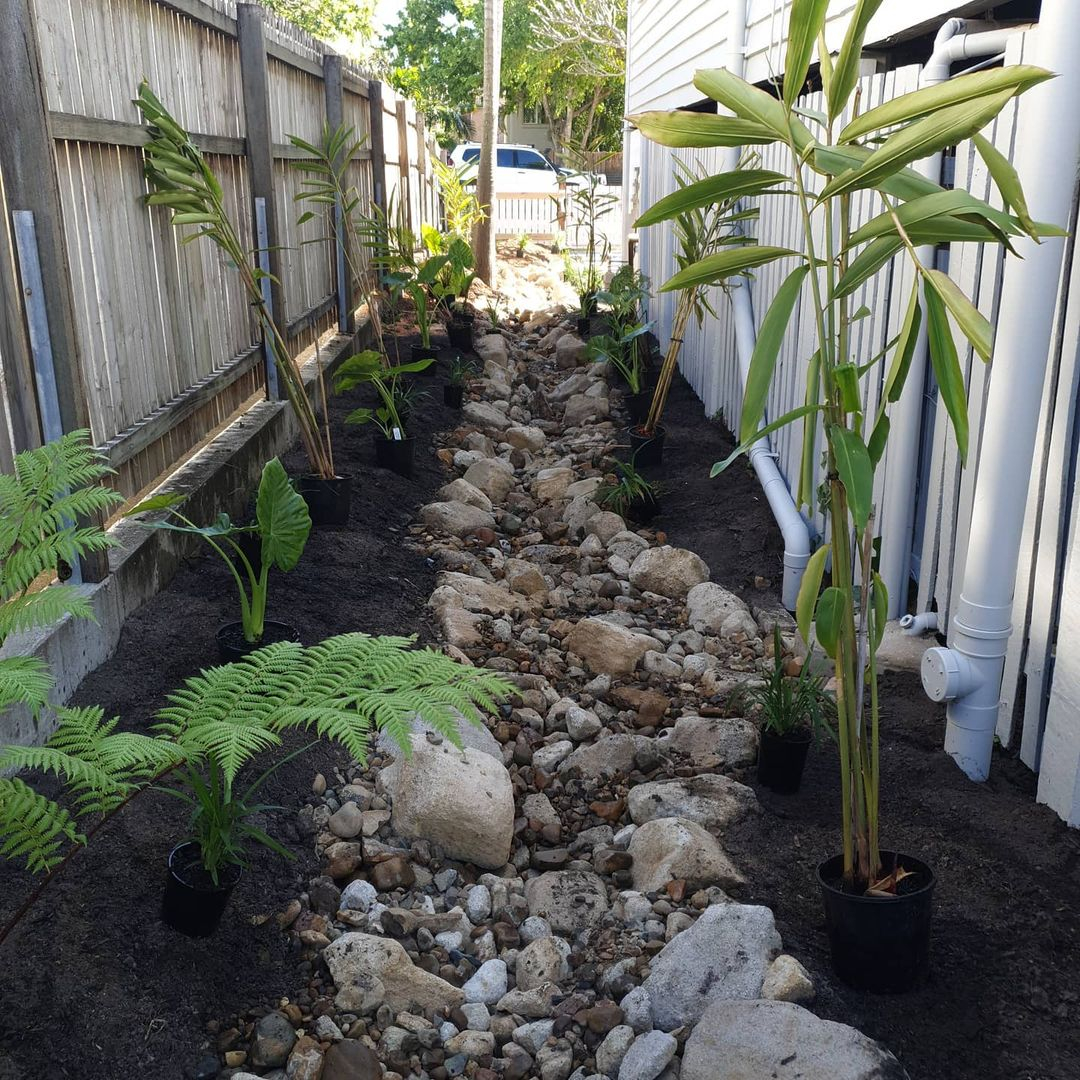
Limited space in your landscape area can be used as a dry creek bed decoration with tropical plants that can be planted not too far apart. The materials used are rock and boulder which have a variety of different sizes and can be arranged according to what you want. This way the water will flow more naturally because rock and boulders don’t absorb as much water as soil. Small Dry Creek Bed from @cjames_landscapedesign
Adding Plants
Once you’ve finished construction, plant native shrubs, trees, or flowers along the edges to add color and soften the hardscape. You can also incorporate a rock garden in this area. Typically, adding plants behind large boulders along the creek edge is the best way to do this.
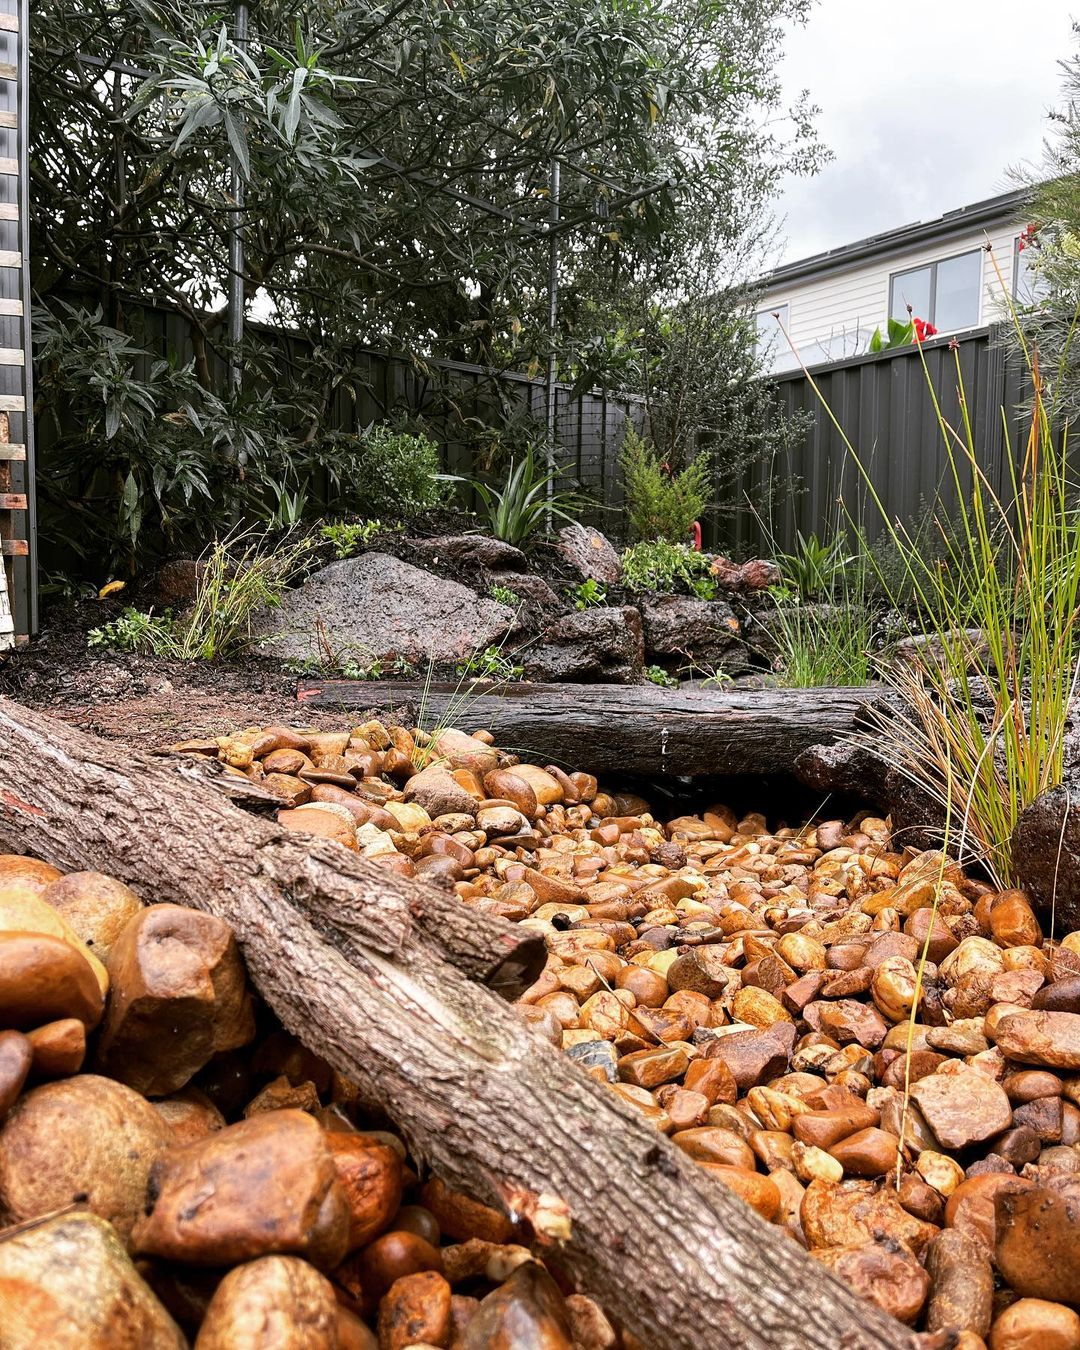
Green plants with a variety of different types can be planted in the area around the dry creek bed to provide an additional green color that can give an instant natural feel. This plant can be watered every day so that it can grow and develop properly. Various types of green plants can be found in the backyard garden area and you can move them easily, add fertilizer as fertilizer which can be obtained easily. Various Types of Green Plants from @connect2nature_biodiversity
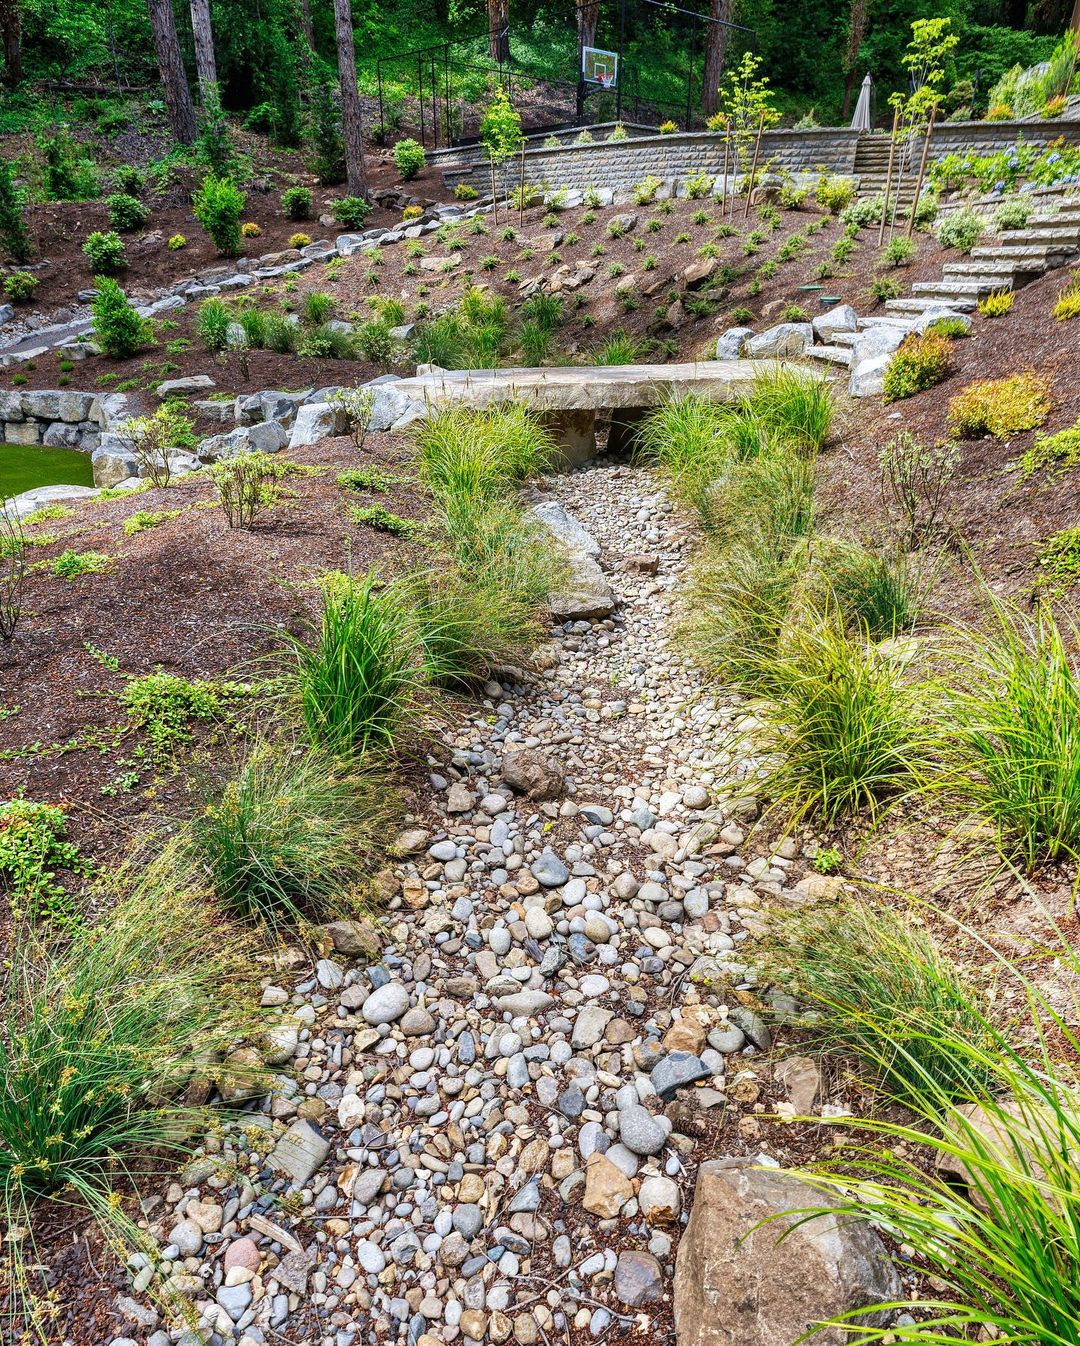
Spider plants are one type of plant that can be planted along dry creek beds. This is one of the low maintenance plants and highly recommended to try. One of the advantages that can be obtained from planting green plants is that they can make the atmosphere around them feel cooler when they have developed and grown to the fullest. Spider Plants Decoration from @dennis7dees_landscaping
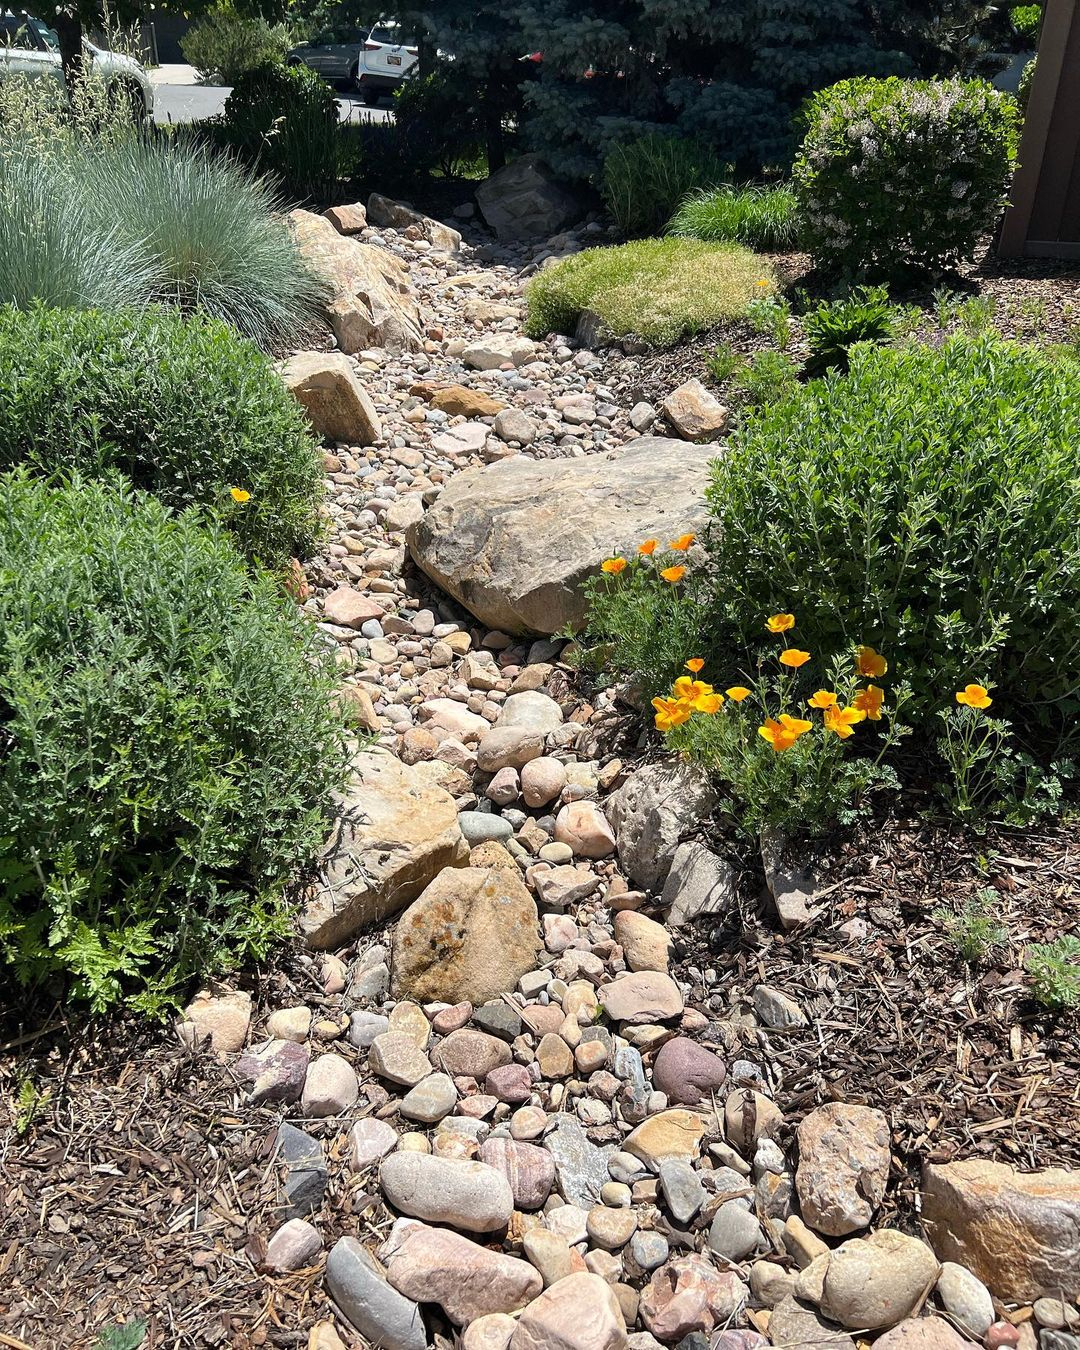
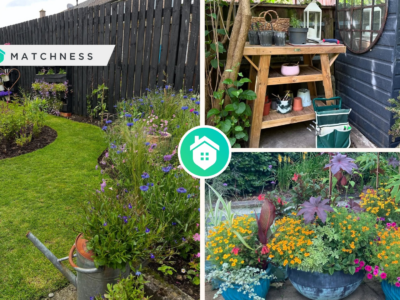
Not only green plants can be planted along the sides of dry creek beds, but you can also plant several types of flowers so they can add color as they develop and bloom simultaneously. Mulch is the best growing medium that blends well with dry creek beds. Prune a shrub when it grows too thick to keep it neat and elegant. Green Plant with Blooming Flowers from @ournestingspace
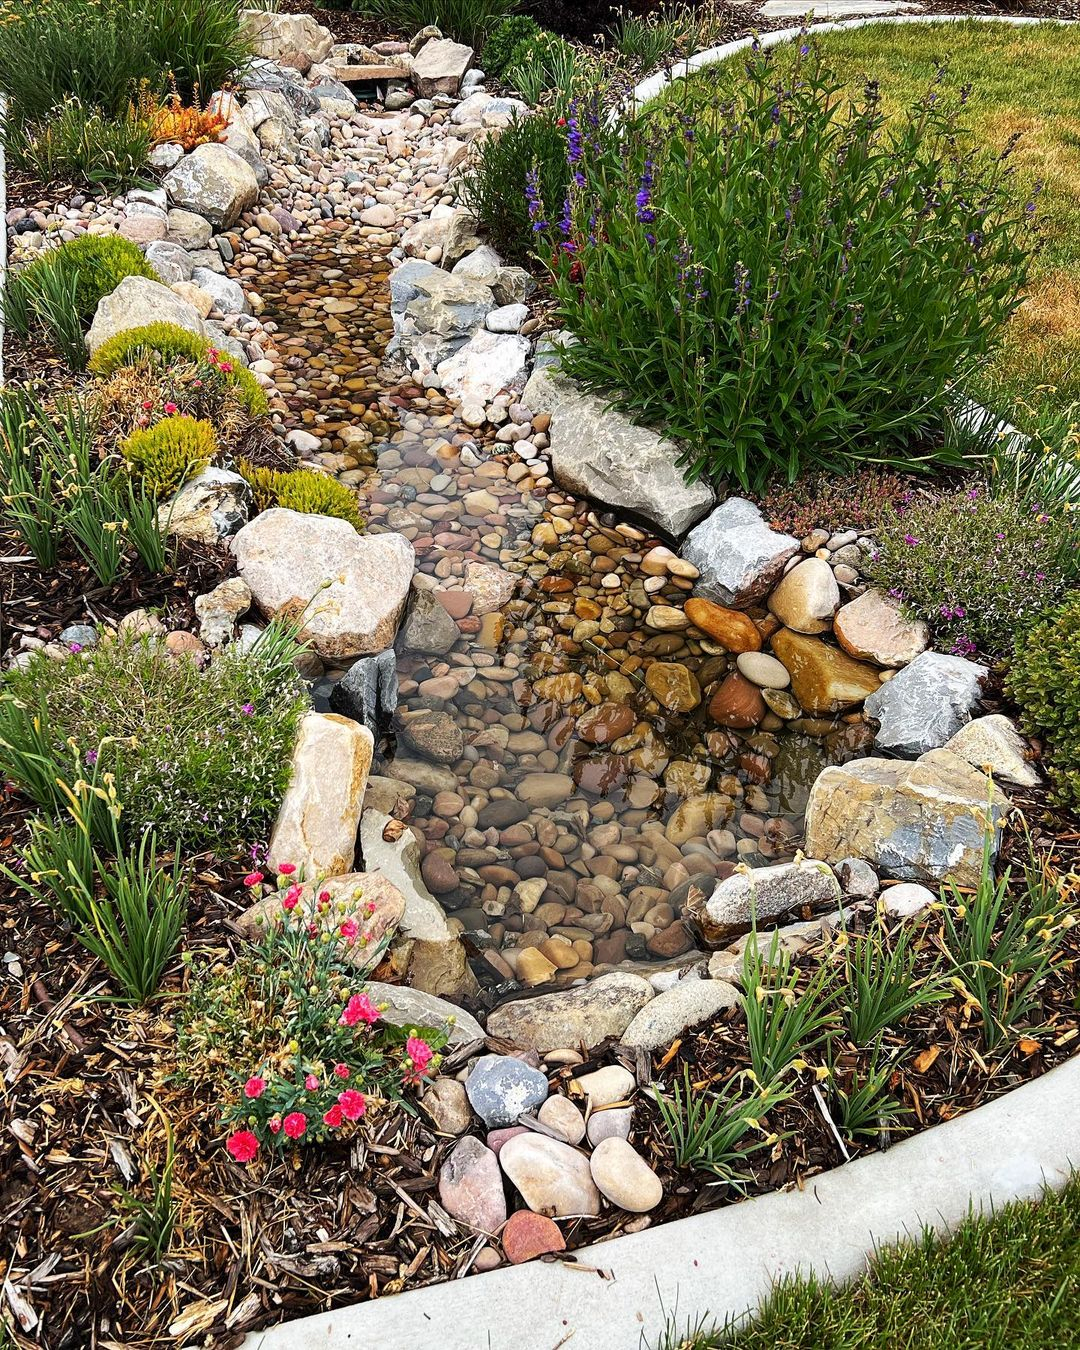
Perennials will stay alive and thrive for this year’s dry creek bed decoration throughout the season. With this plant, the landscaping area will be fresher and free from excessive hot weather. In addition, these perennials also do not require regular maintenance, just water it with water every two to three days. Giving fertilizer can be done when you have free time and have enough budget. Perennials Plants from @ournestingspace


